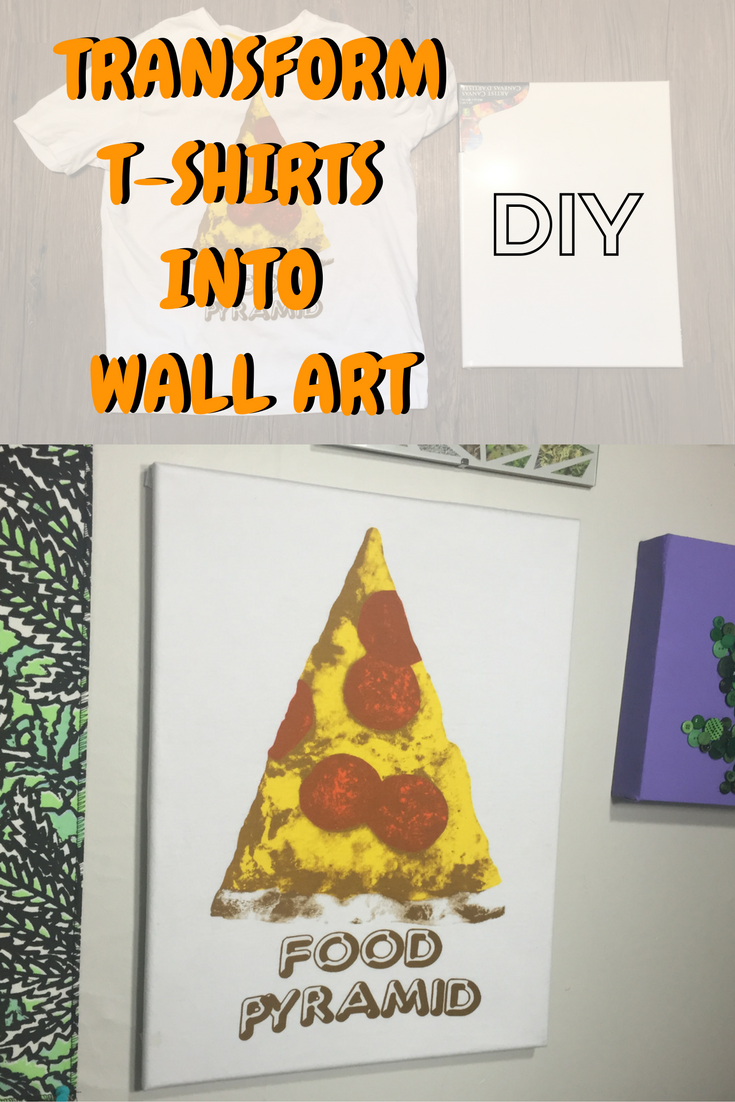
Turn Your Old Graphic T-Shirt Into Wall Art
Ever have a graphic t-shirt you love so much but just can't let go of it even if you haven't worn it in awhile?
Are you like me and have a dresser drawer full of them?
I've been saving them to make a t-shirt quilt but let's face it, my sewing skills at this time are less than stellar.
So when I saw this pin I was stoked, this is a no sew t-shirt upcycle I can do.
And I did! It worked perfectly, now I will pass the knowledge down to you. And you can transform your old t-shirt into wall art so you can enjoy them instead of just having them hangout in a drawer or closet.
But first, let's just take a moment to admire the t-shirt I've turning into wall art. Hilarious, right?
I got it at Walmart for like $5 unfortunately I never really wore it because I didn't like the collar but I can't get rid of it because it always makes me laugh.
Alright let's go through the steps of how I transformed my t-shirt


To make your t-shirt into wall art all you have to do is:

- Cut up a t-shirt
- Stretch it over a canvas
- Pin it in place
Seems easy enough right? That's because it is. These pictures from this tutorial are from my first attempt.
Step 1- Grab a Tee
Pick an old t-shirt, if it has that -I've been sitting in a drawer for 6 months or longer smell, you should probably give it a wash first.
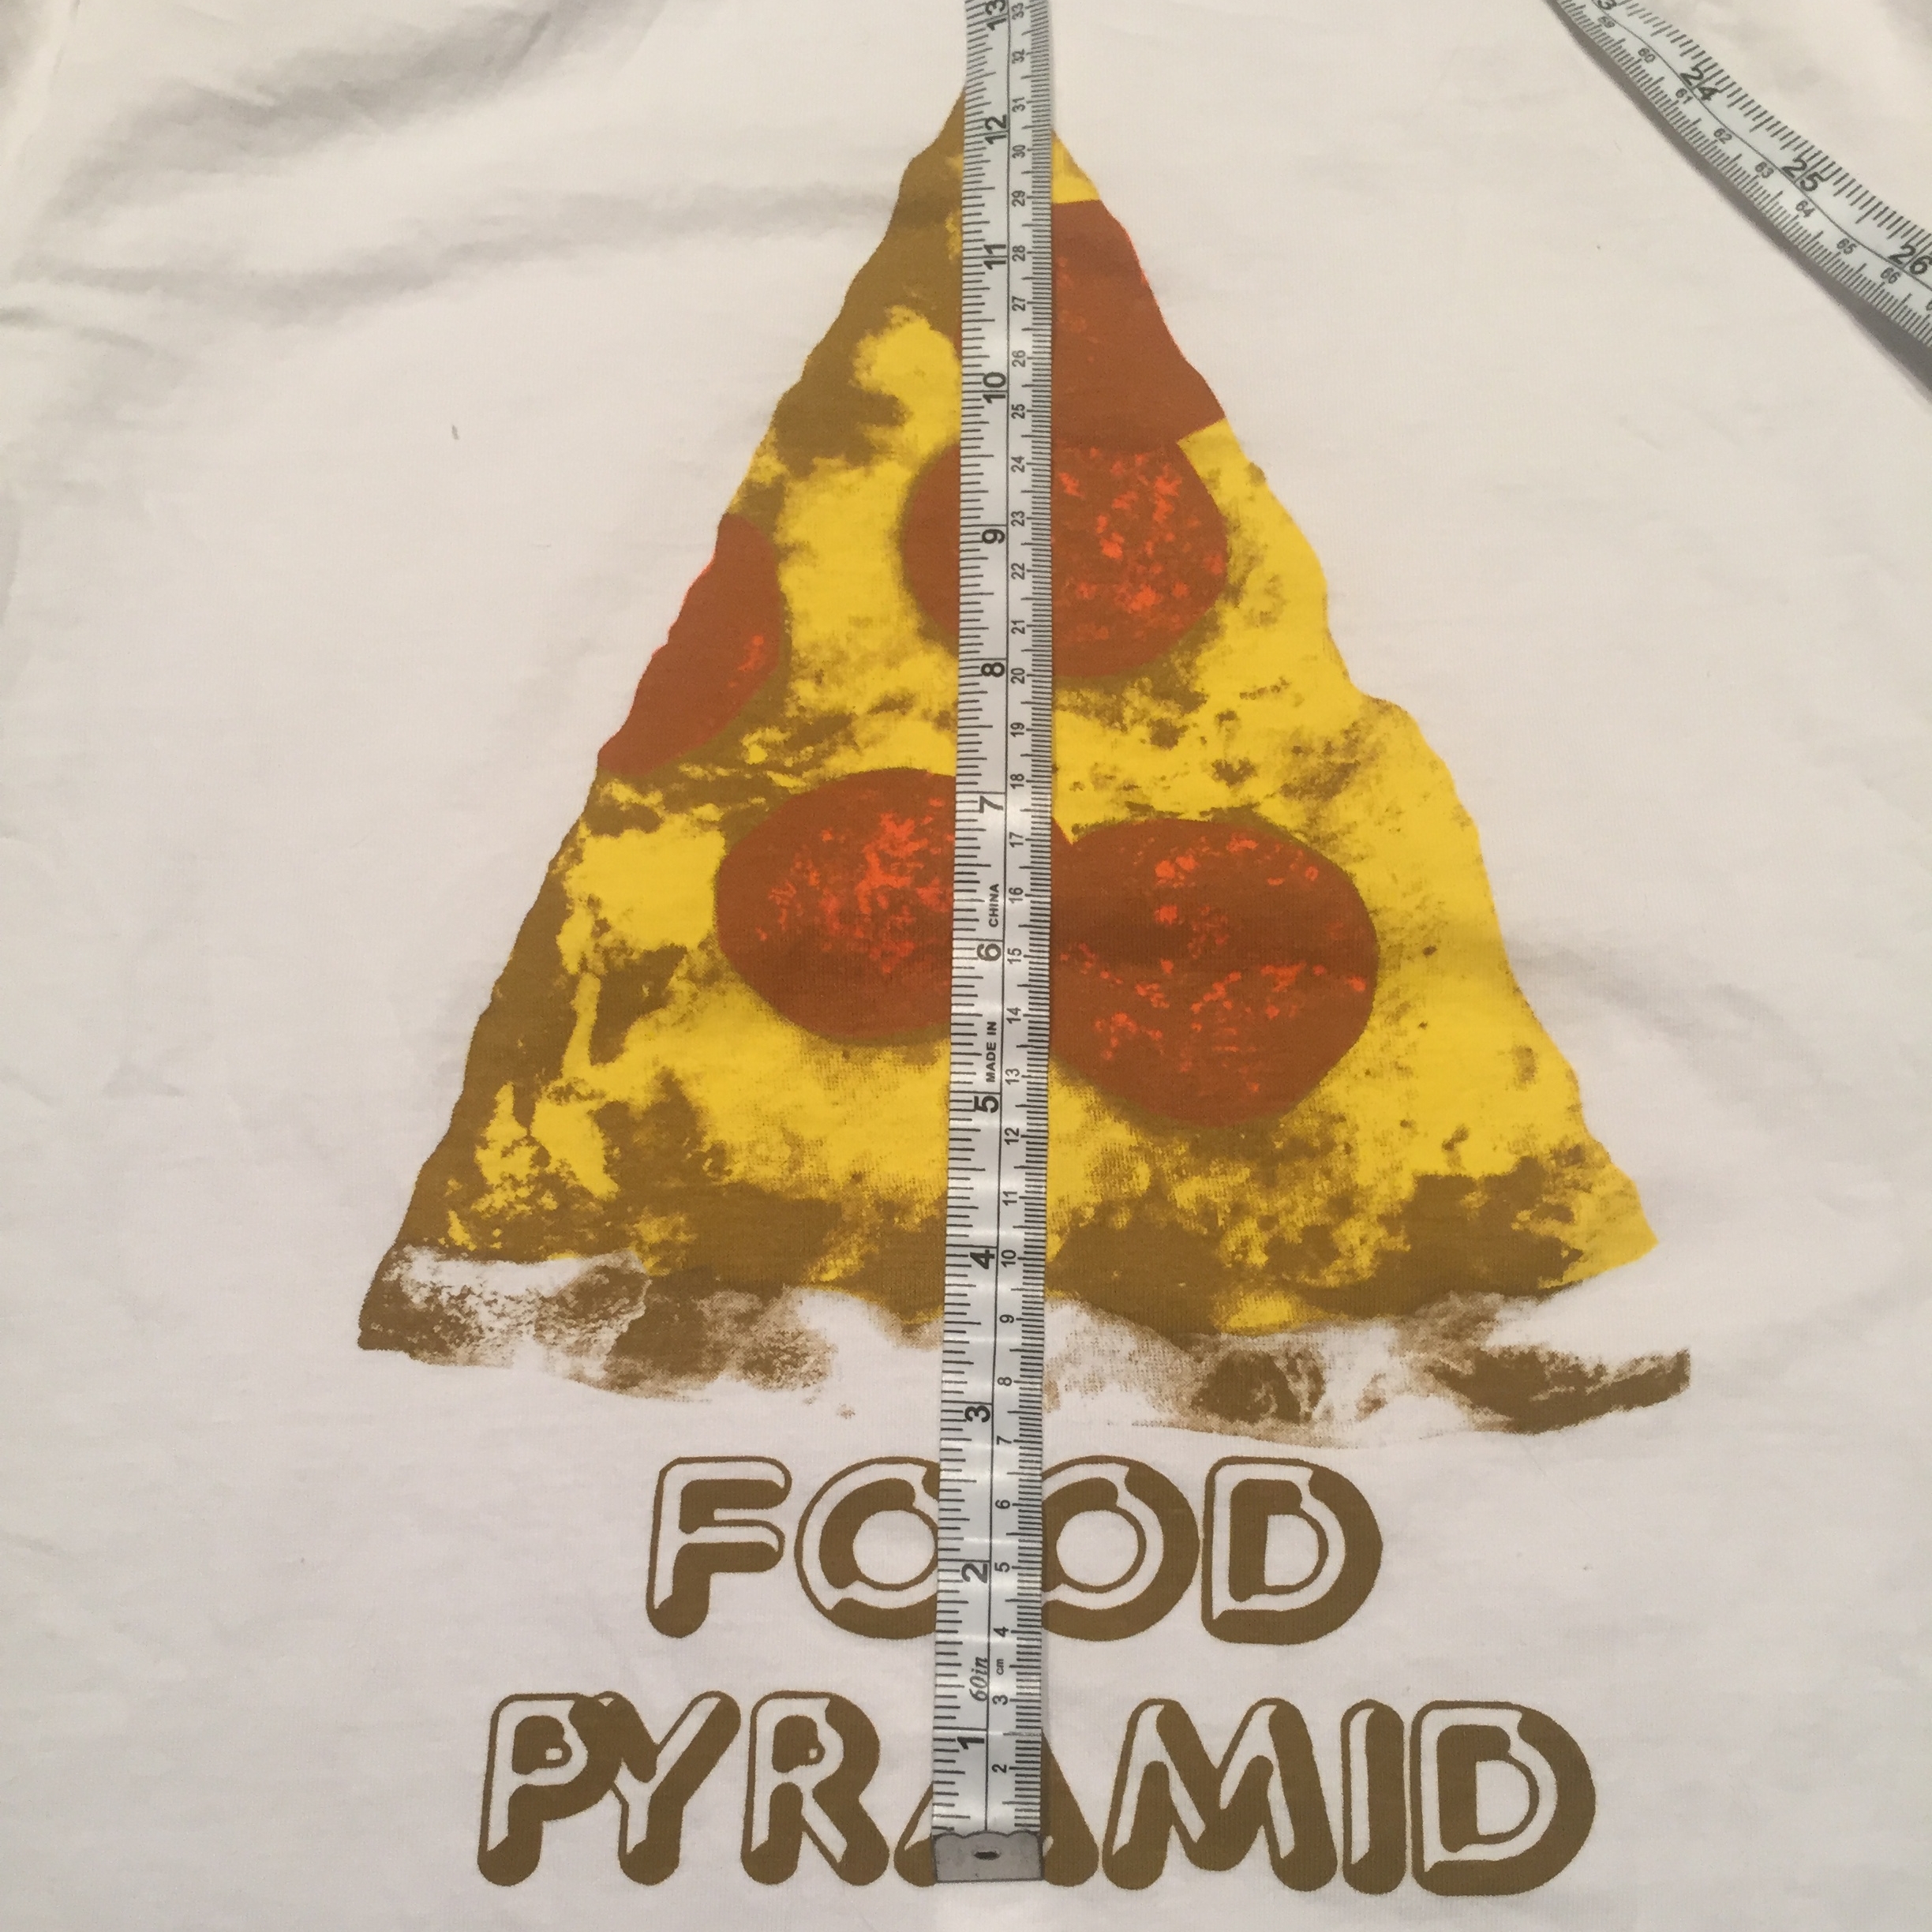
Step 2- Determine Canvas Size
Determine what size of a canvas you need. Measure the area of your graphic and add a couple inches on each side to figure out what size you'll need
My graphic is 8ish inches by 13ish inches so I am going to need one that's around 12 inches by 17 inches

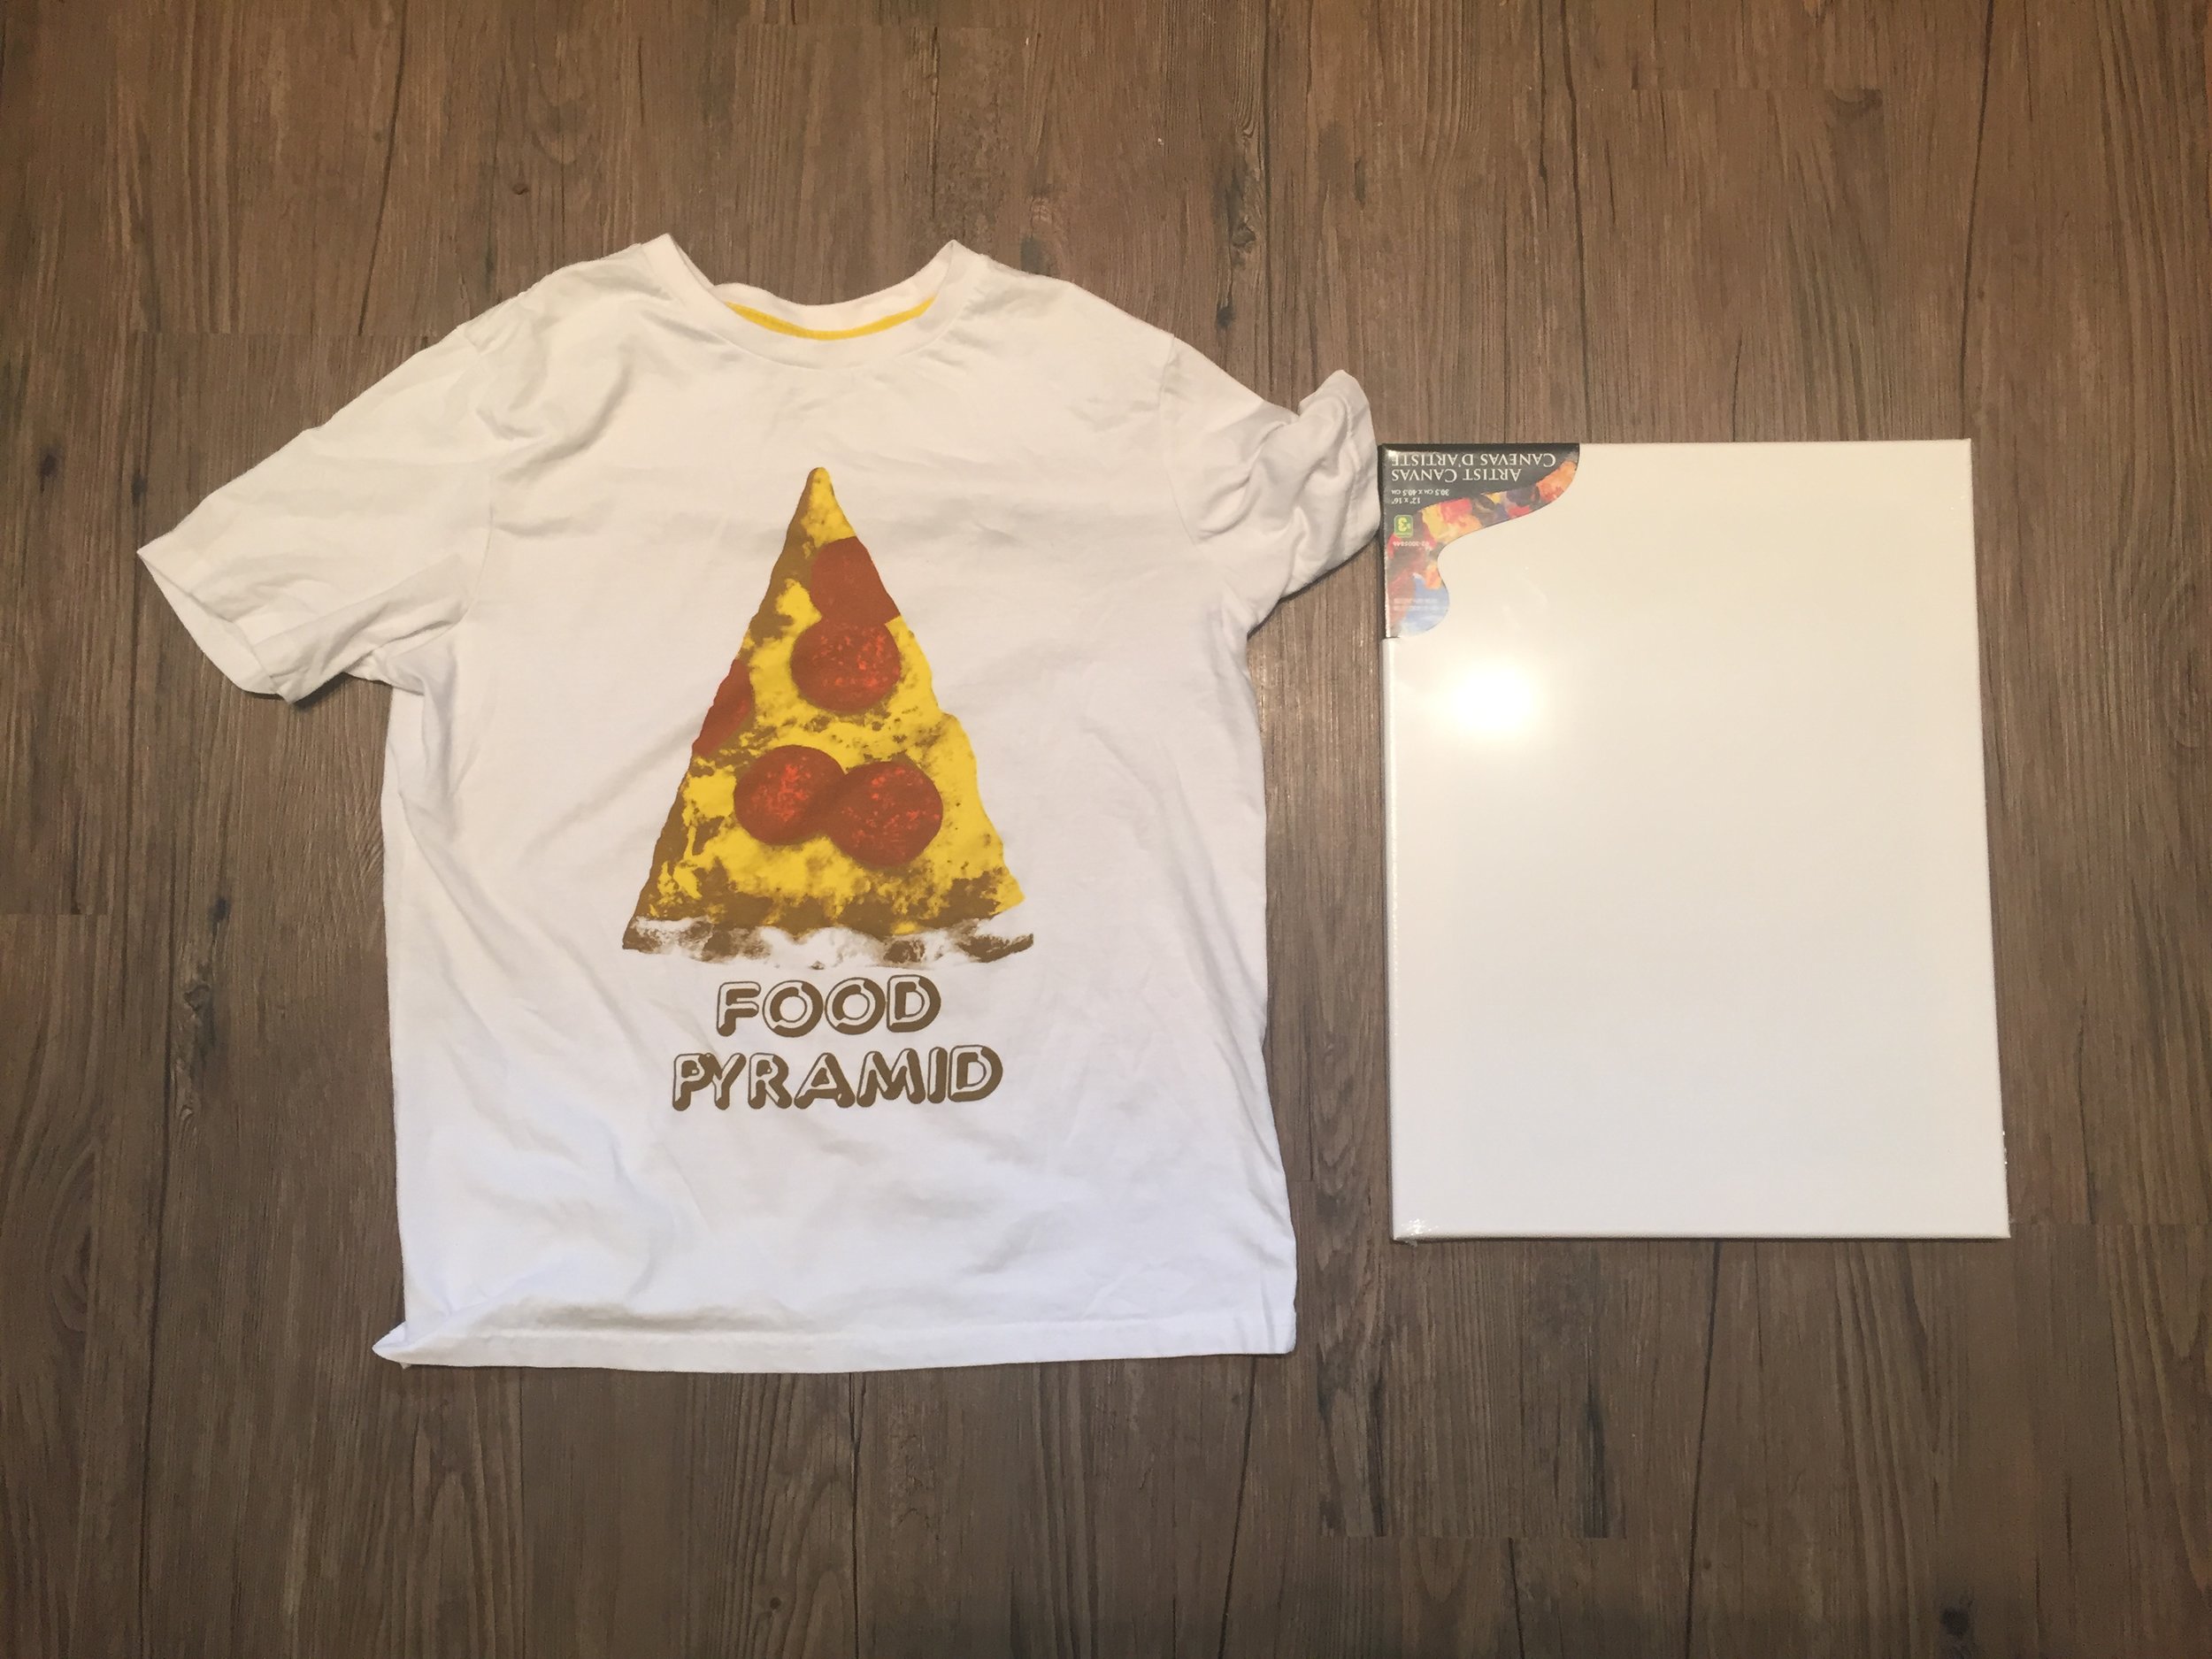
STEP 3 - Get Canvas
Maybe you already have a canvas the perfect size, or you can run down to the dollar store and get one. I found my 12" by 16" canvas for only $3, gotta love cheap DIYs.
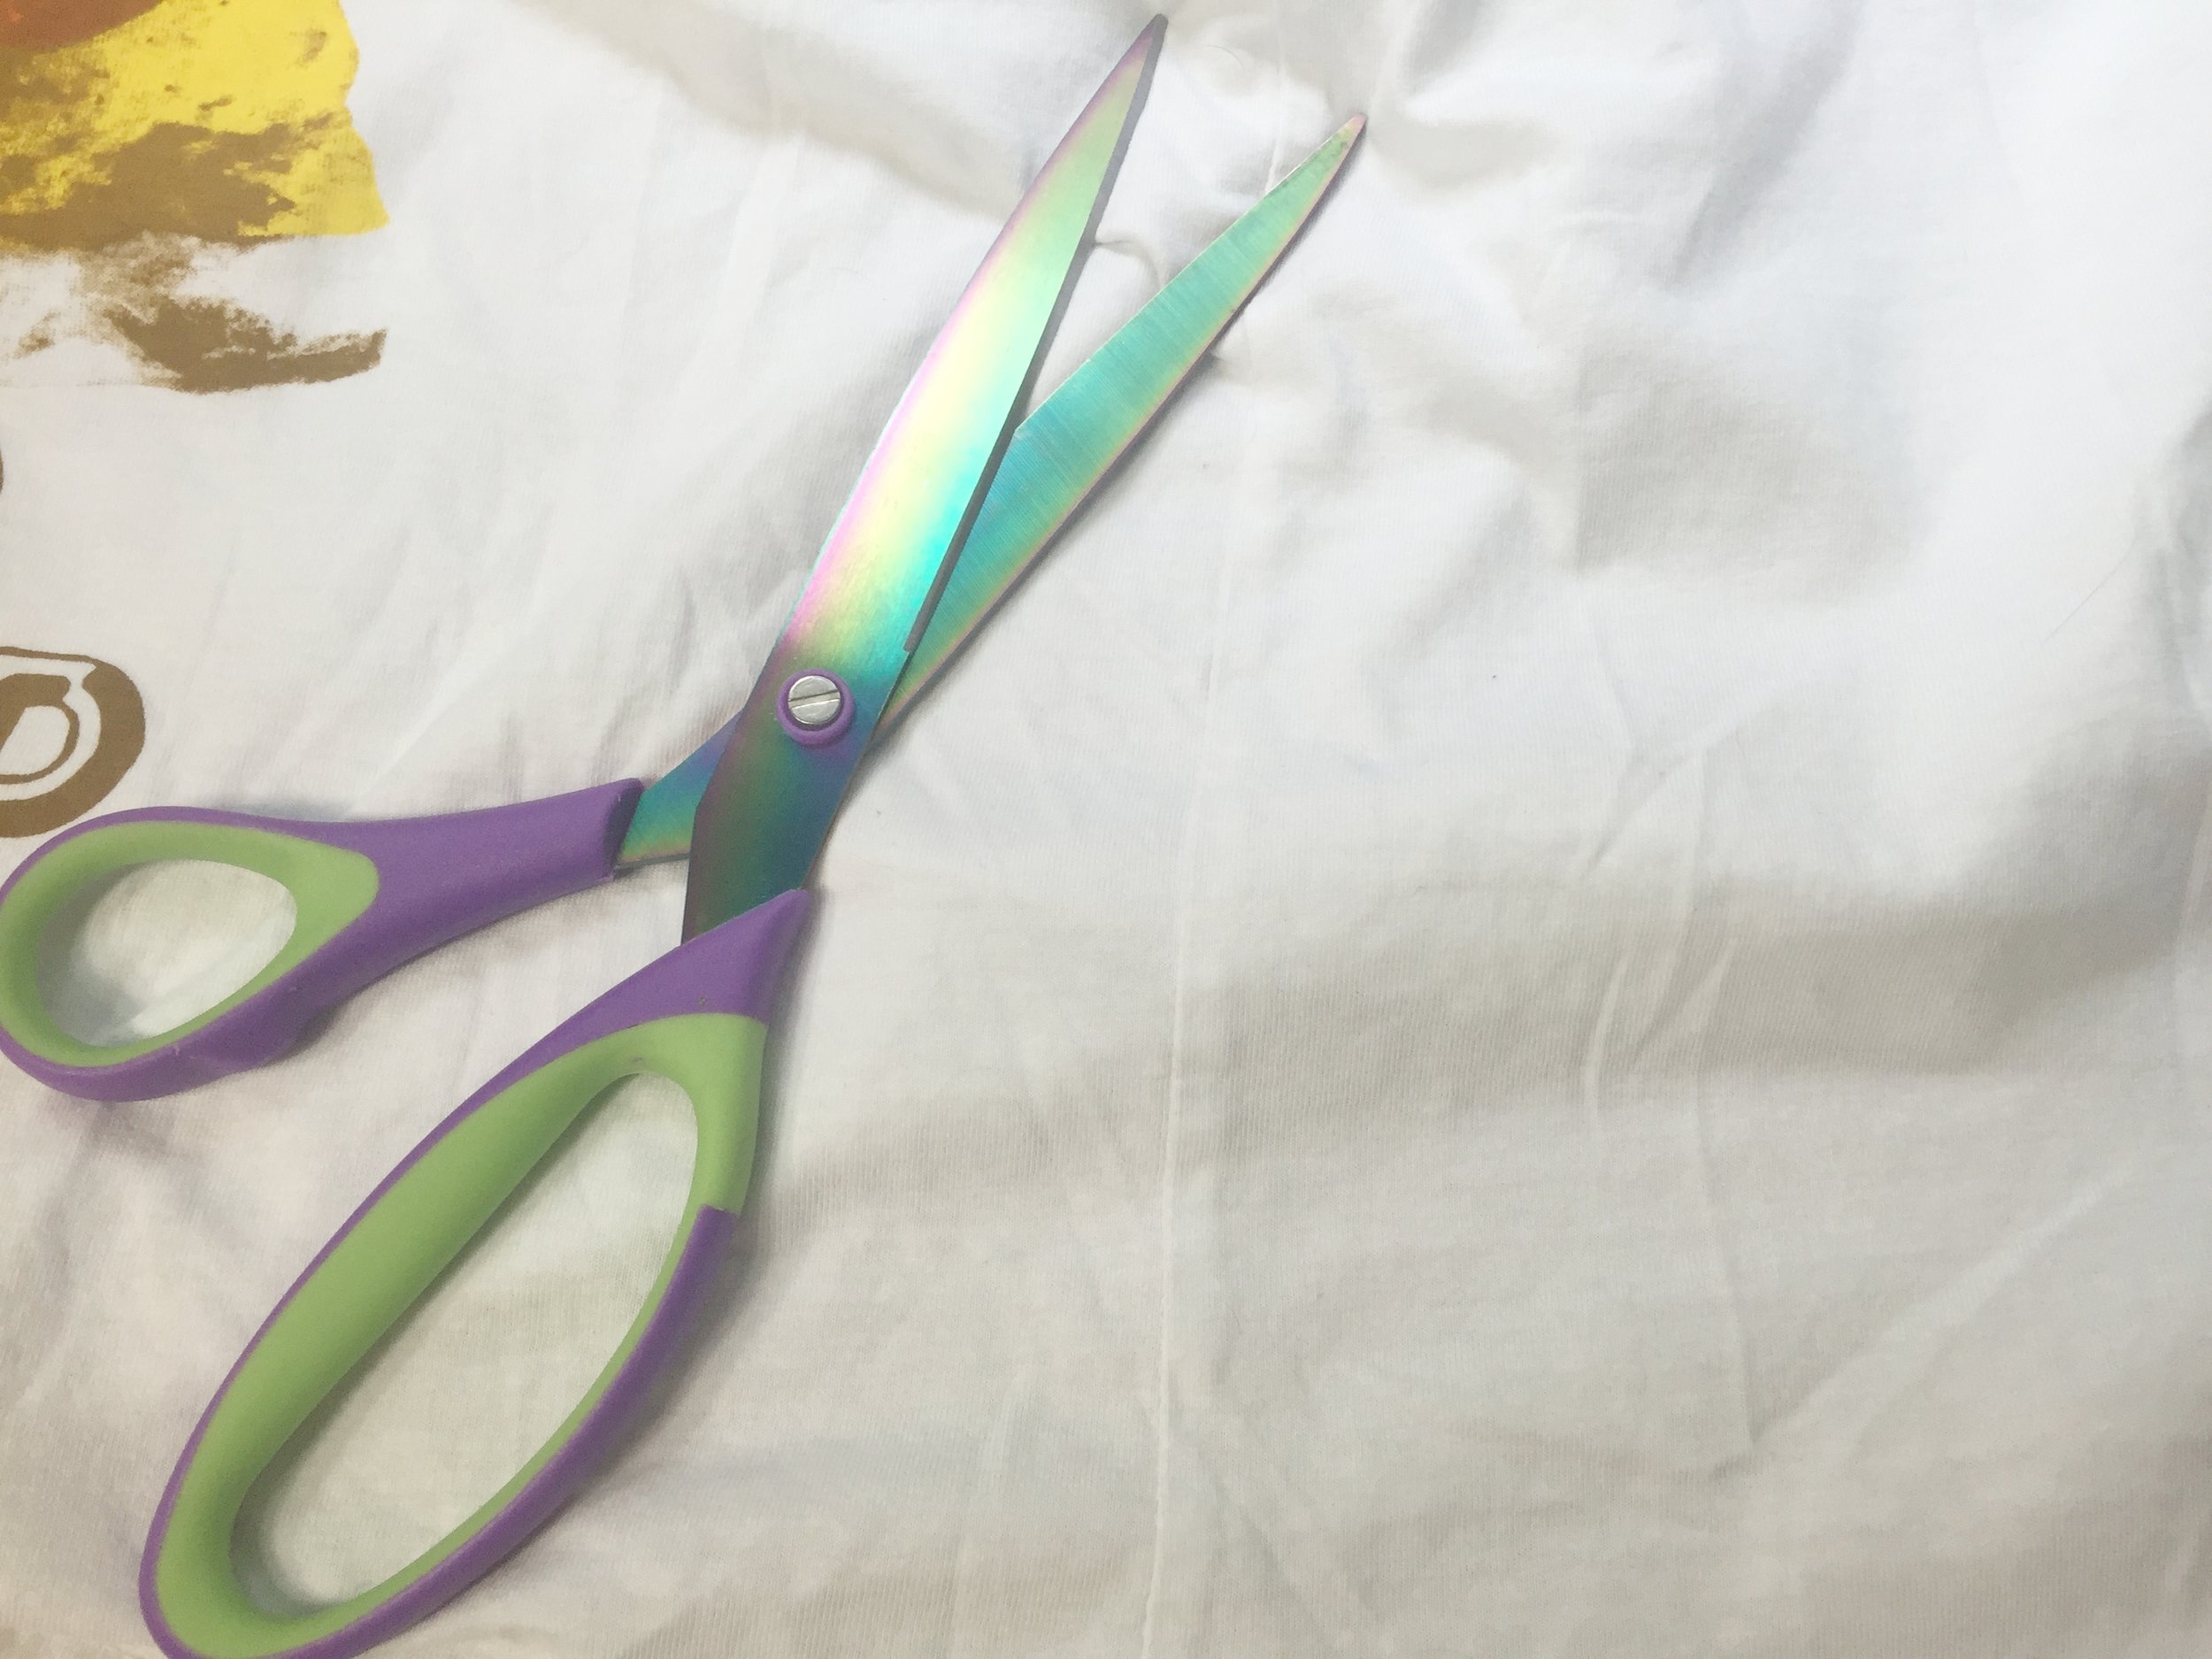
STEP 4 - Chop, Chop
Time to bust out the scissors! Cut your t-shirt along its side seam and seperate the front of your shirt from the back of your shirt.

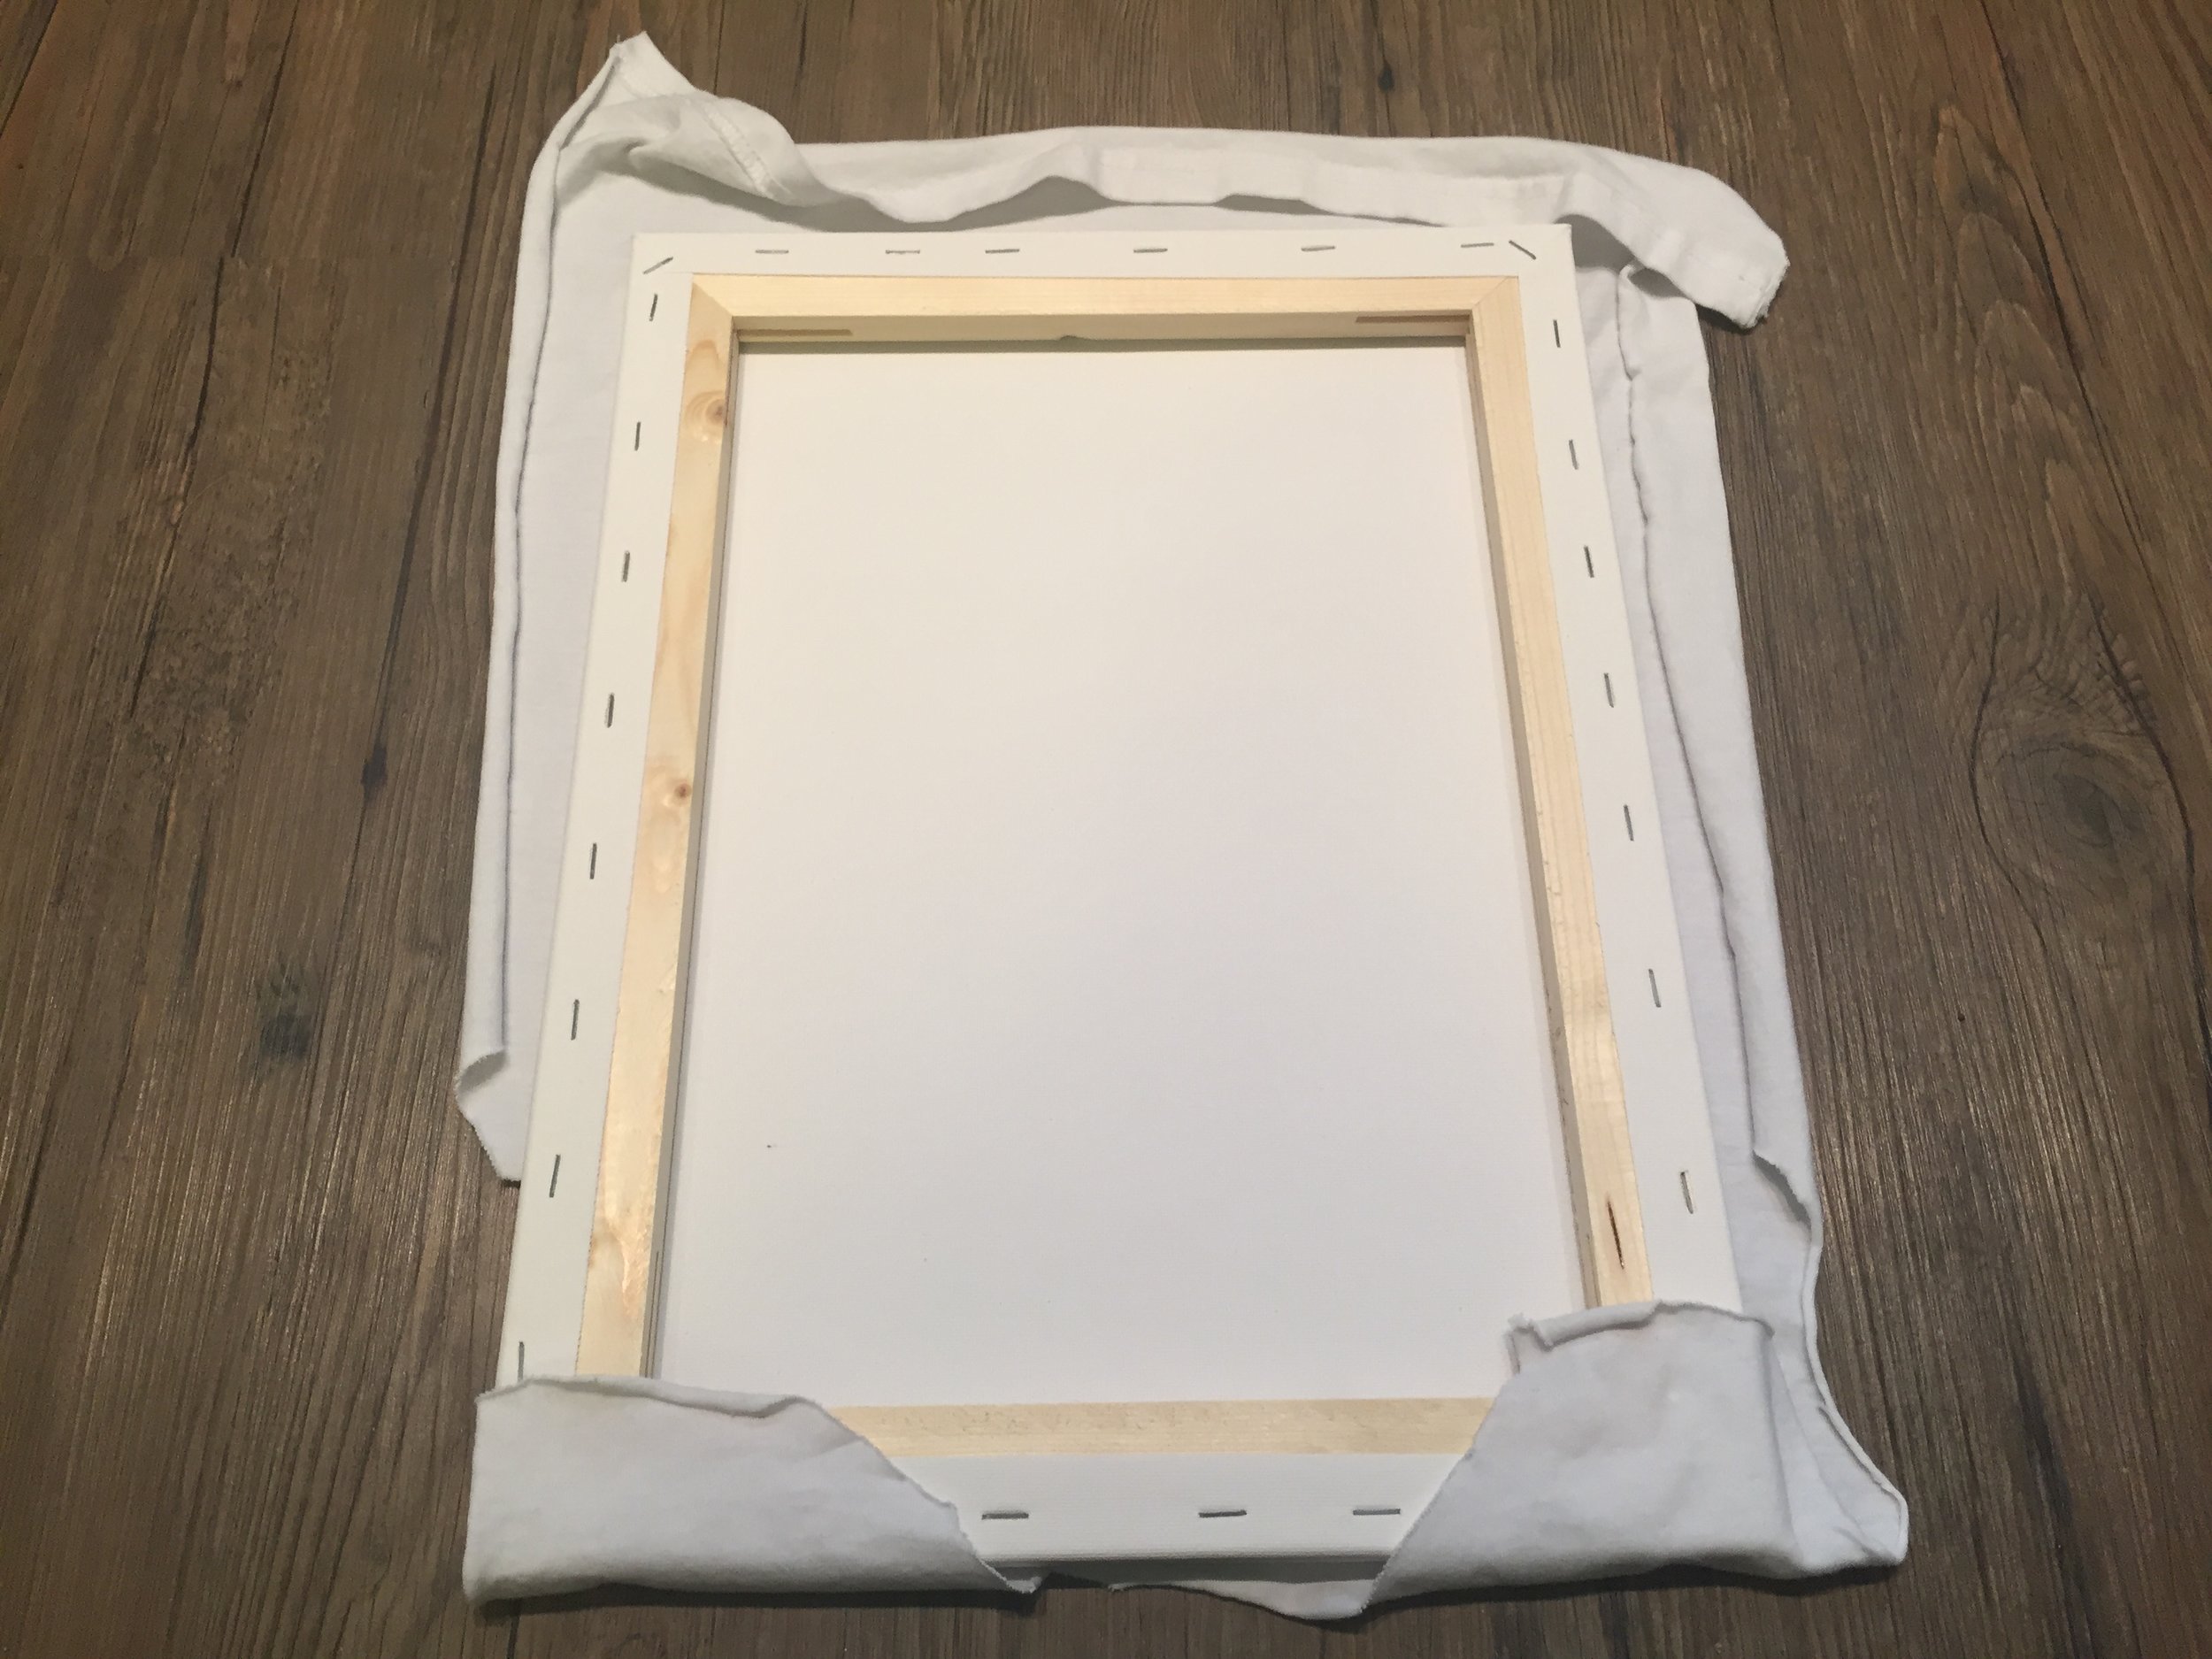
STEP 5 - Positioning the T-Shirt
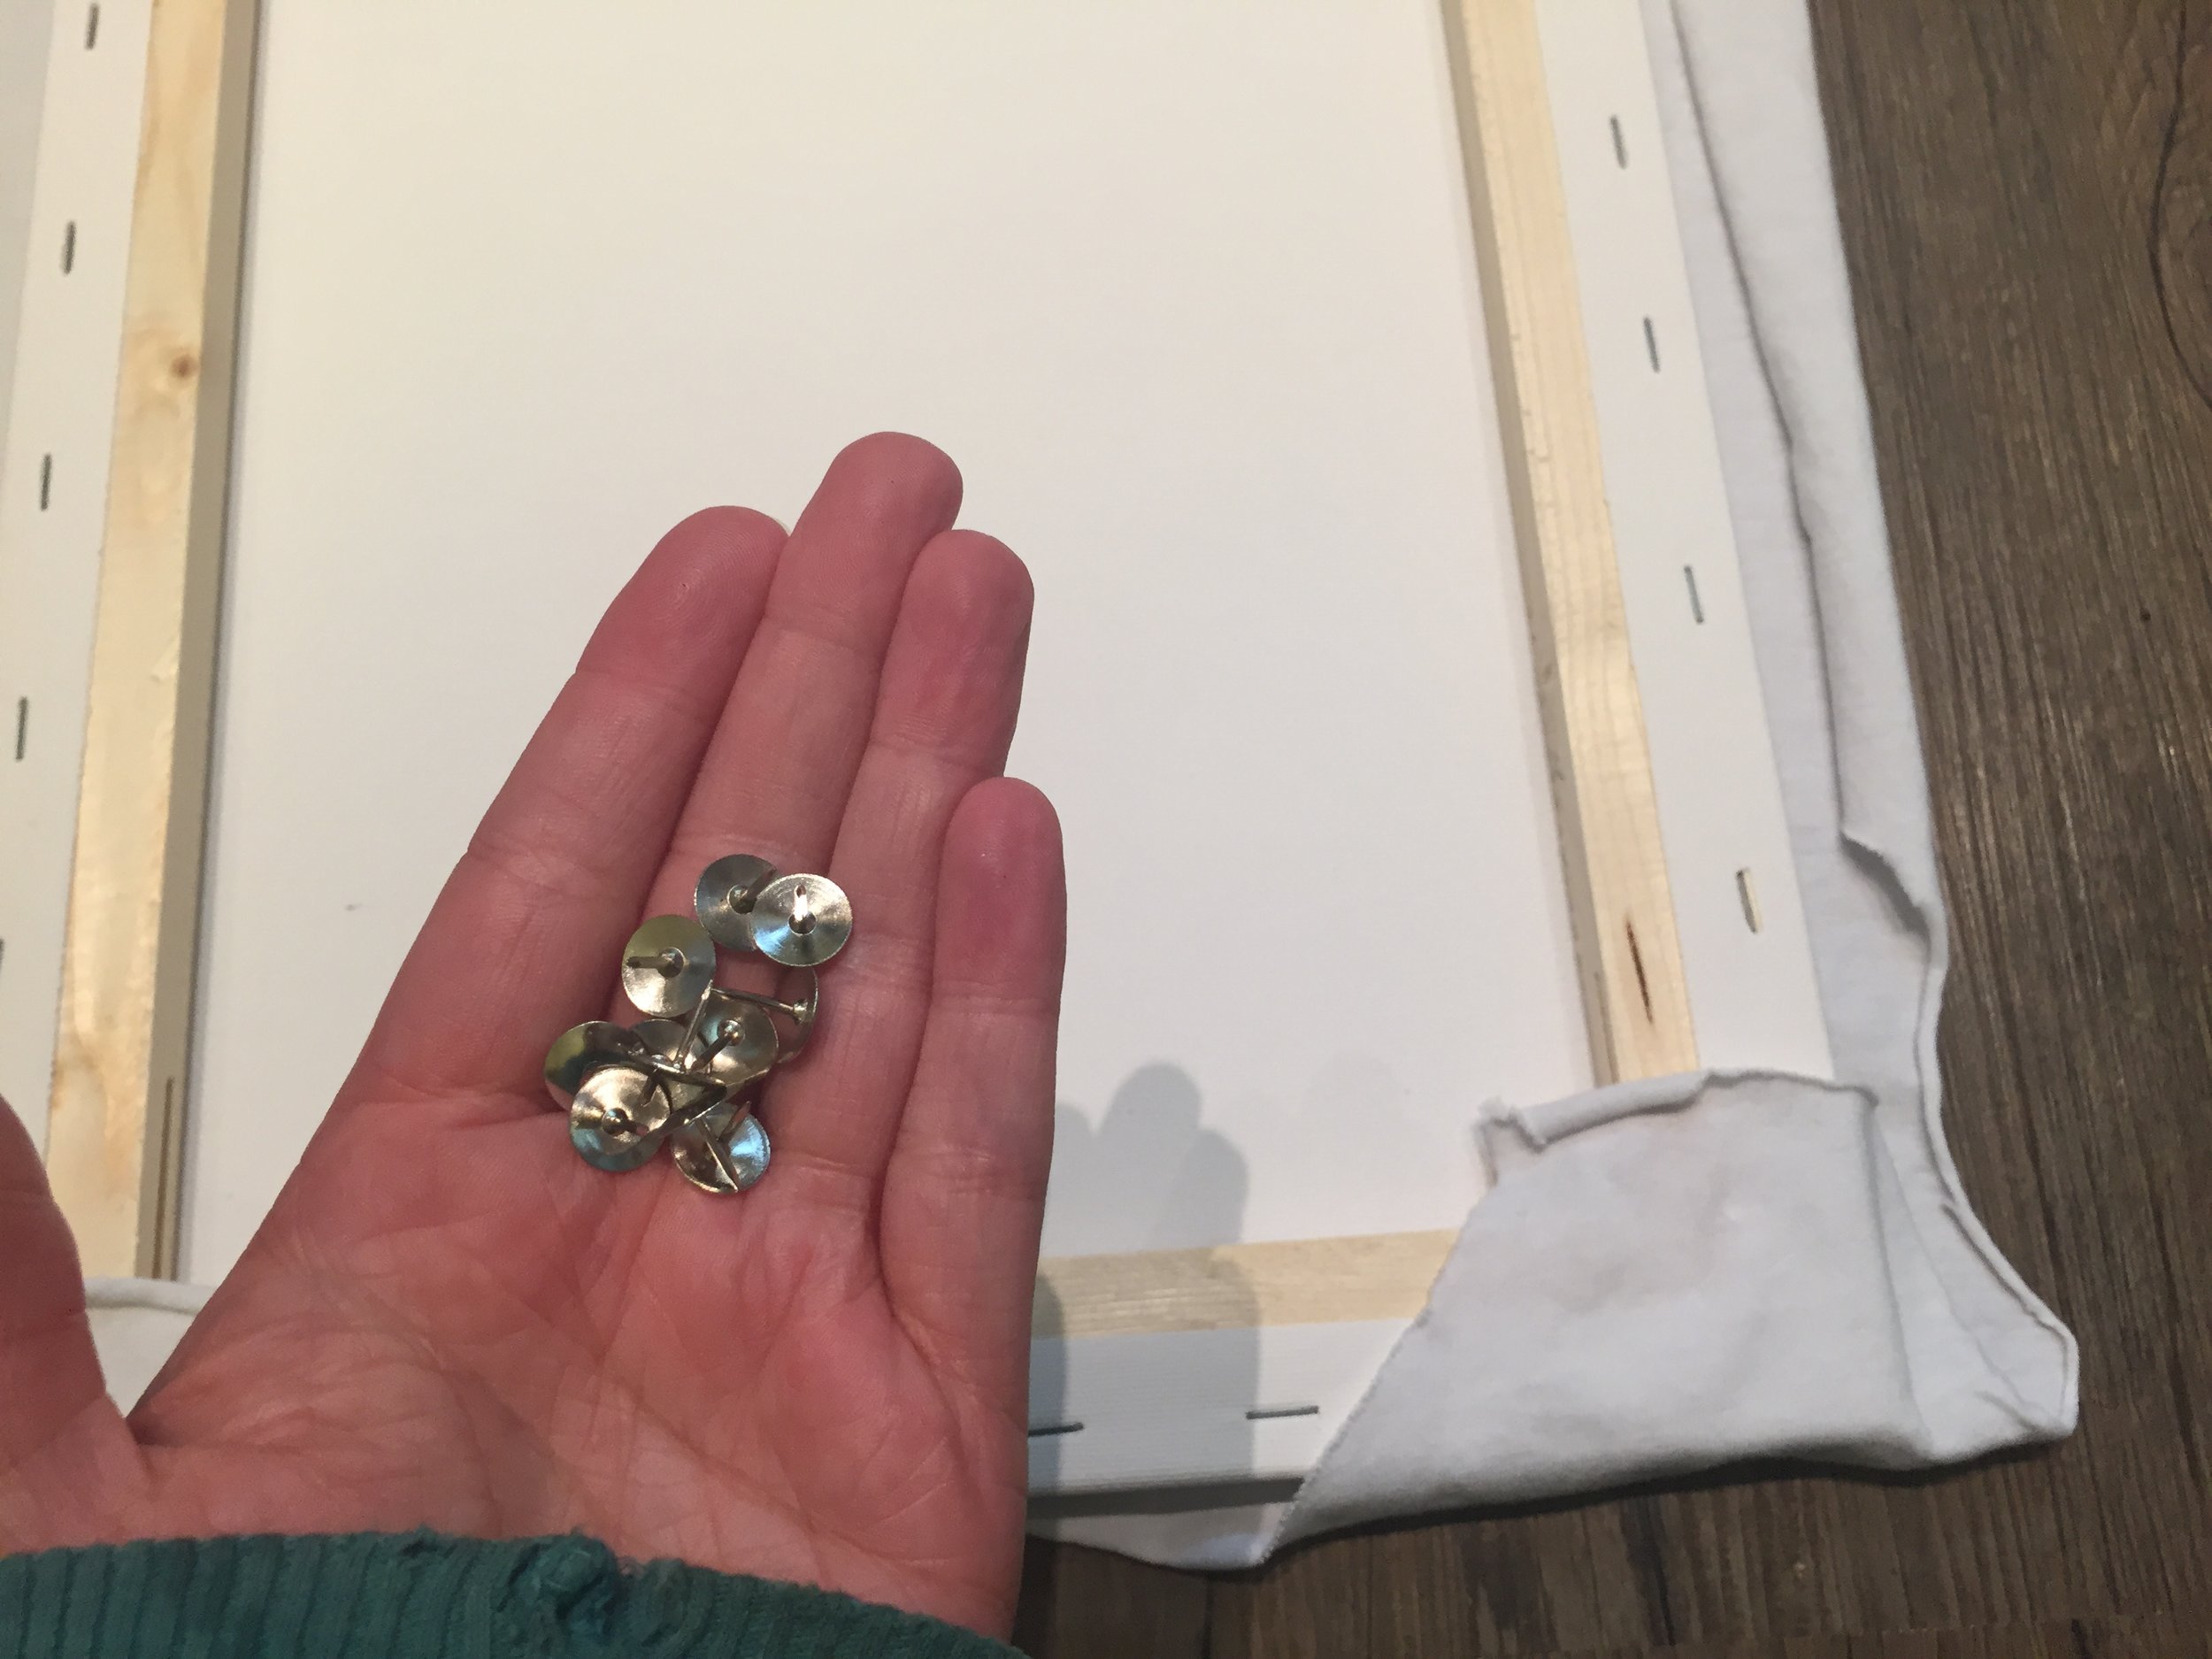
Lay your t-shirt on top of your canvas to check size and get it into position, (if your shirt is waay too big to fit over your canvas give it a trim so there's 2-3 inches of over hang). Then flip your canvas over keeping the t-shirt in place and grab yourself 10 or 12 flat head push pins

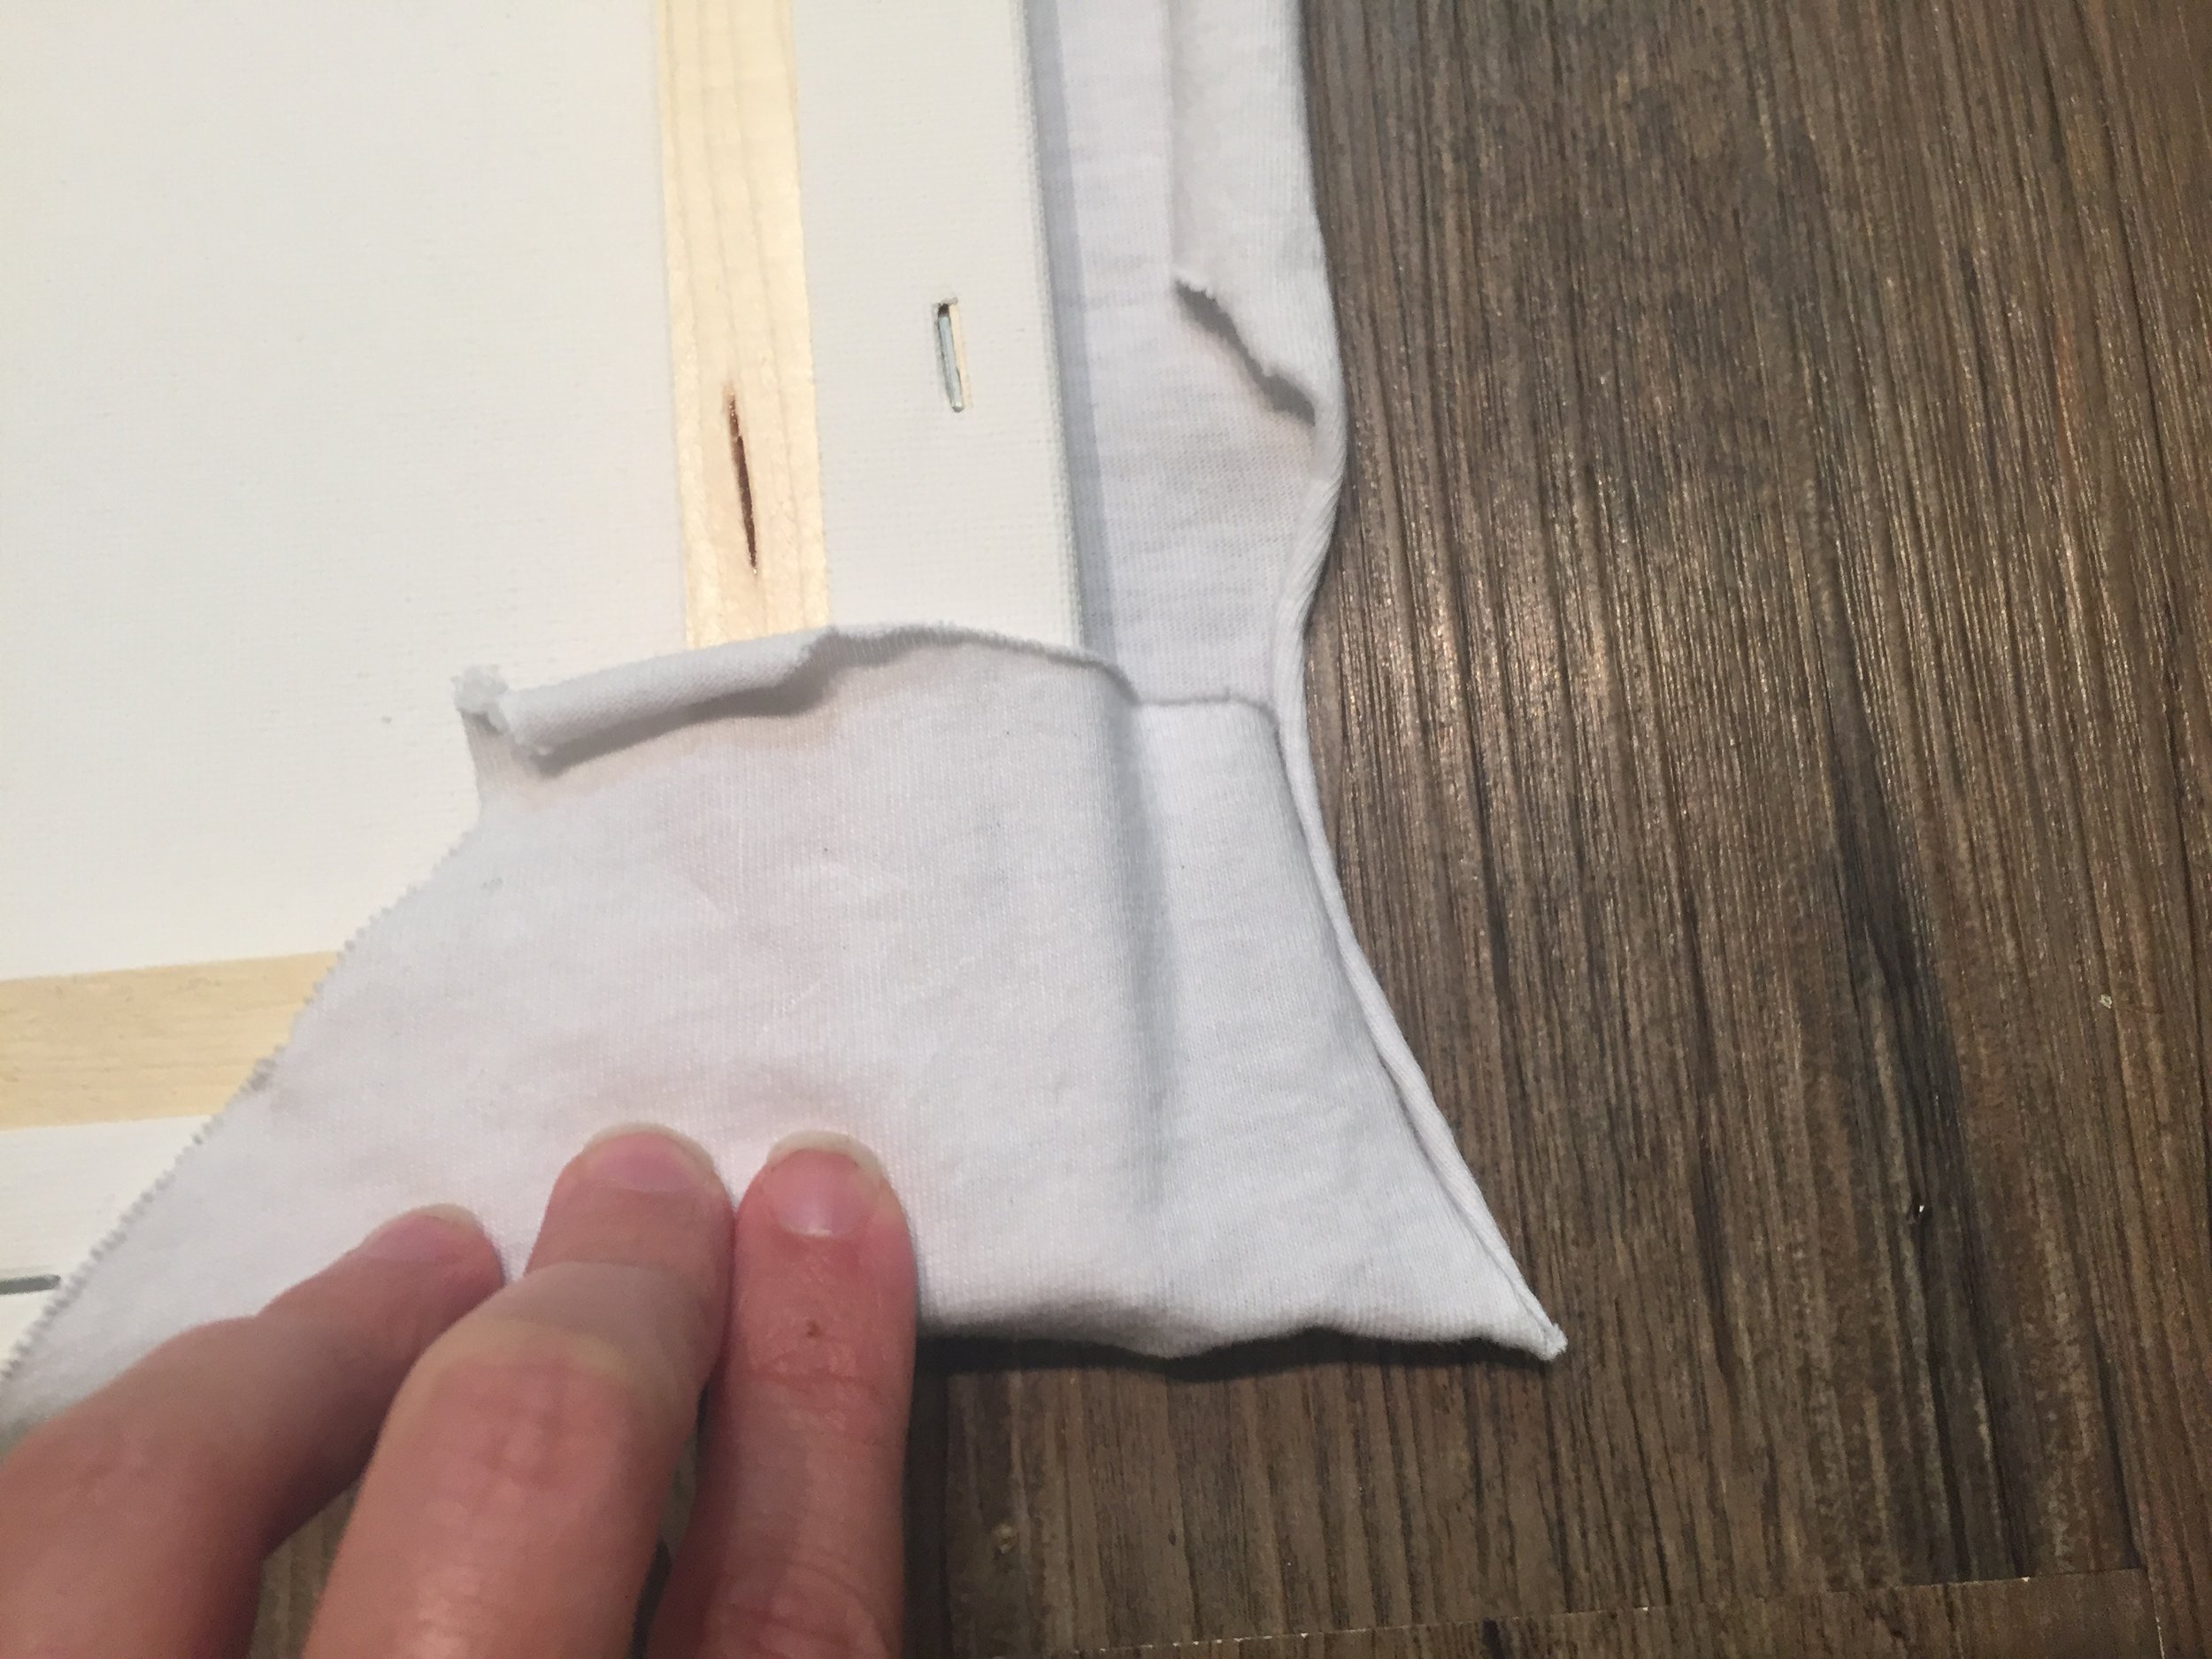
STEP 6- Pin it to Win it
Start at the top of your canvas (left or right corner, doesn't matter) and fold your t-shirt behind the canvas then from the side fold your t-shirt onto the back of your canvas again and then pin it in place. Do this to both corners.


Now repeat what you did on the top of your canvas to the bottom on your canvas. But this time be sure to make sure your t-shirt is stretched tight against the canvas, you don't want it all loose and sloppy.
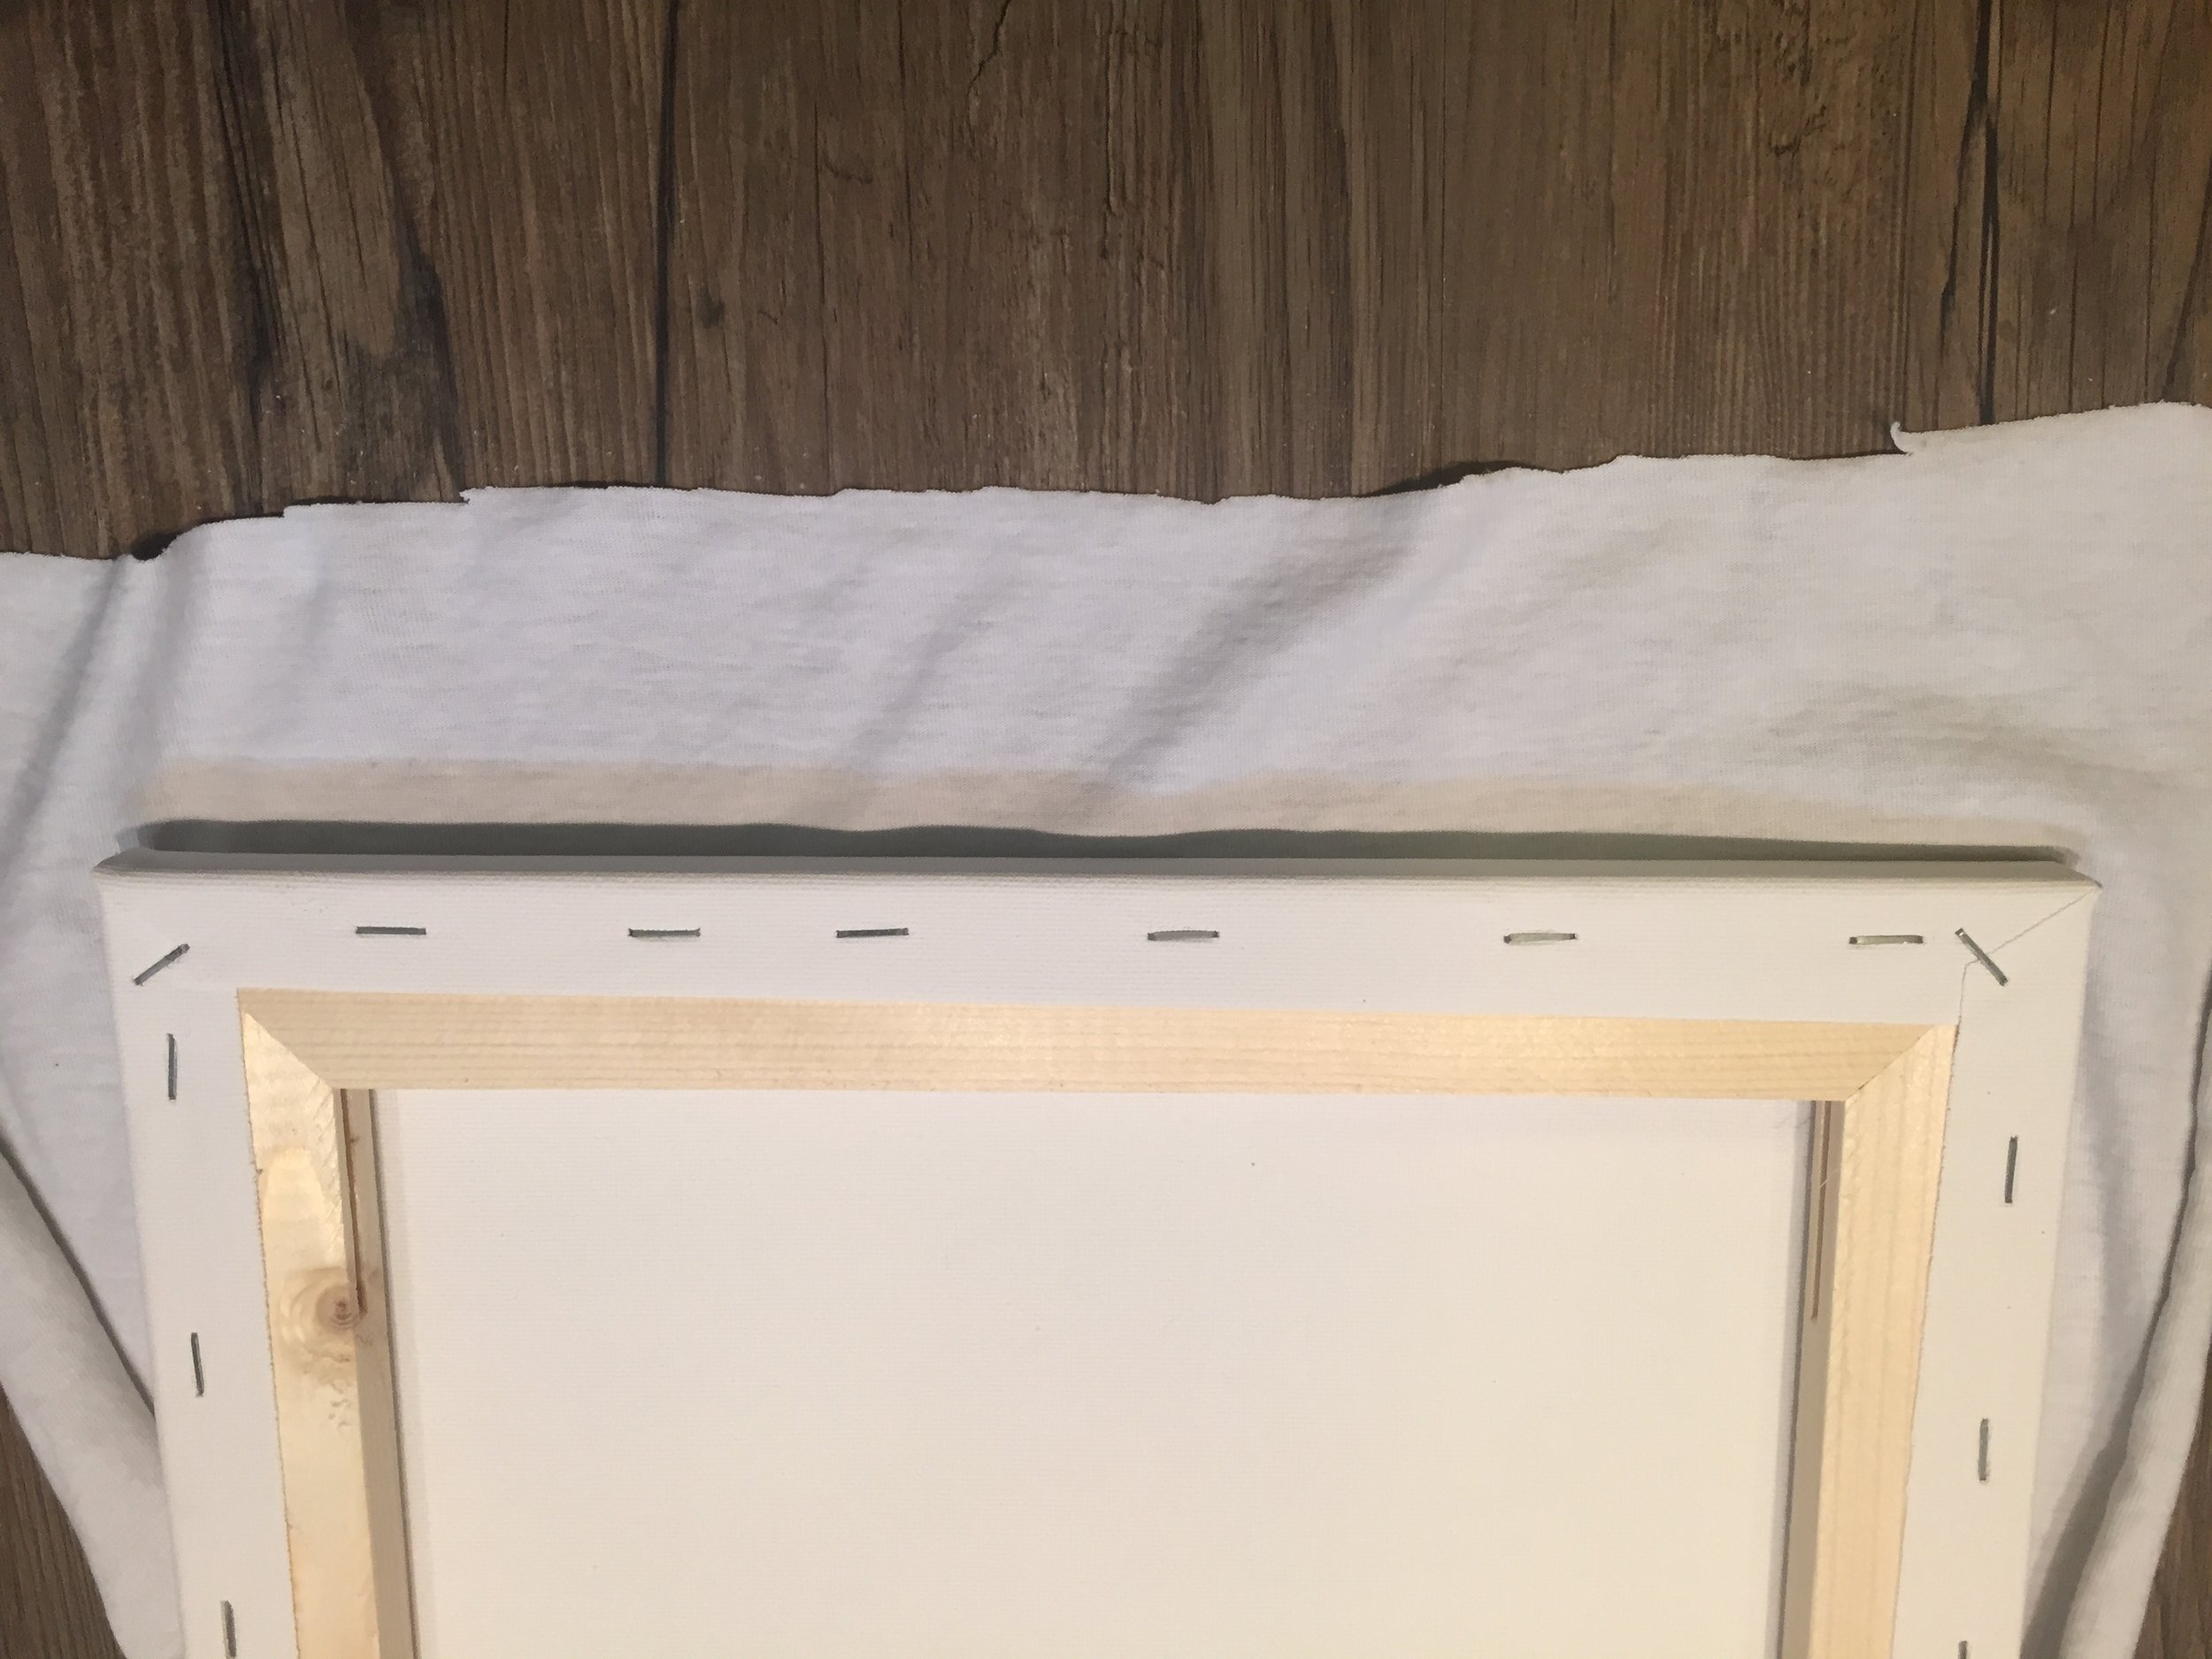

After you've pinned the top and bottom corners you're going to need to add a 1 or 2 more pins in the middle of them to keep them firmly in place.
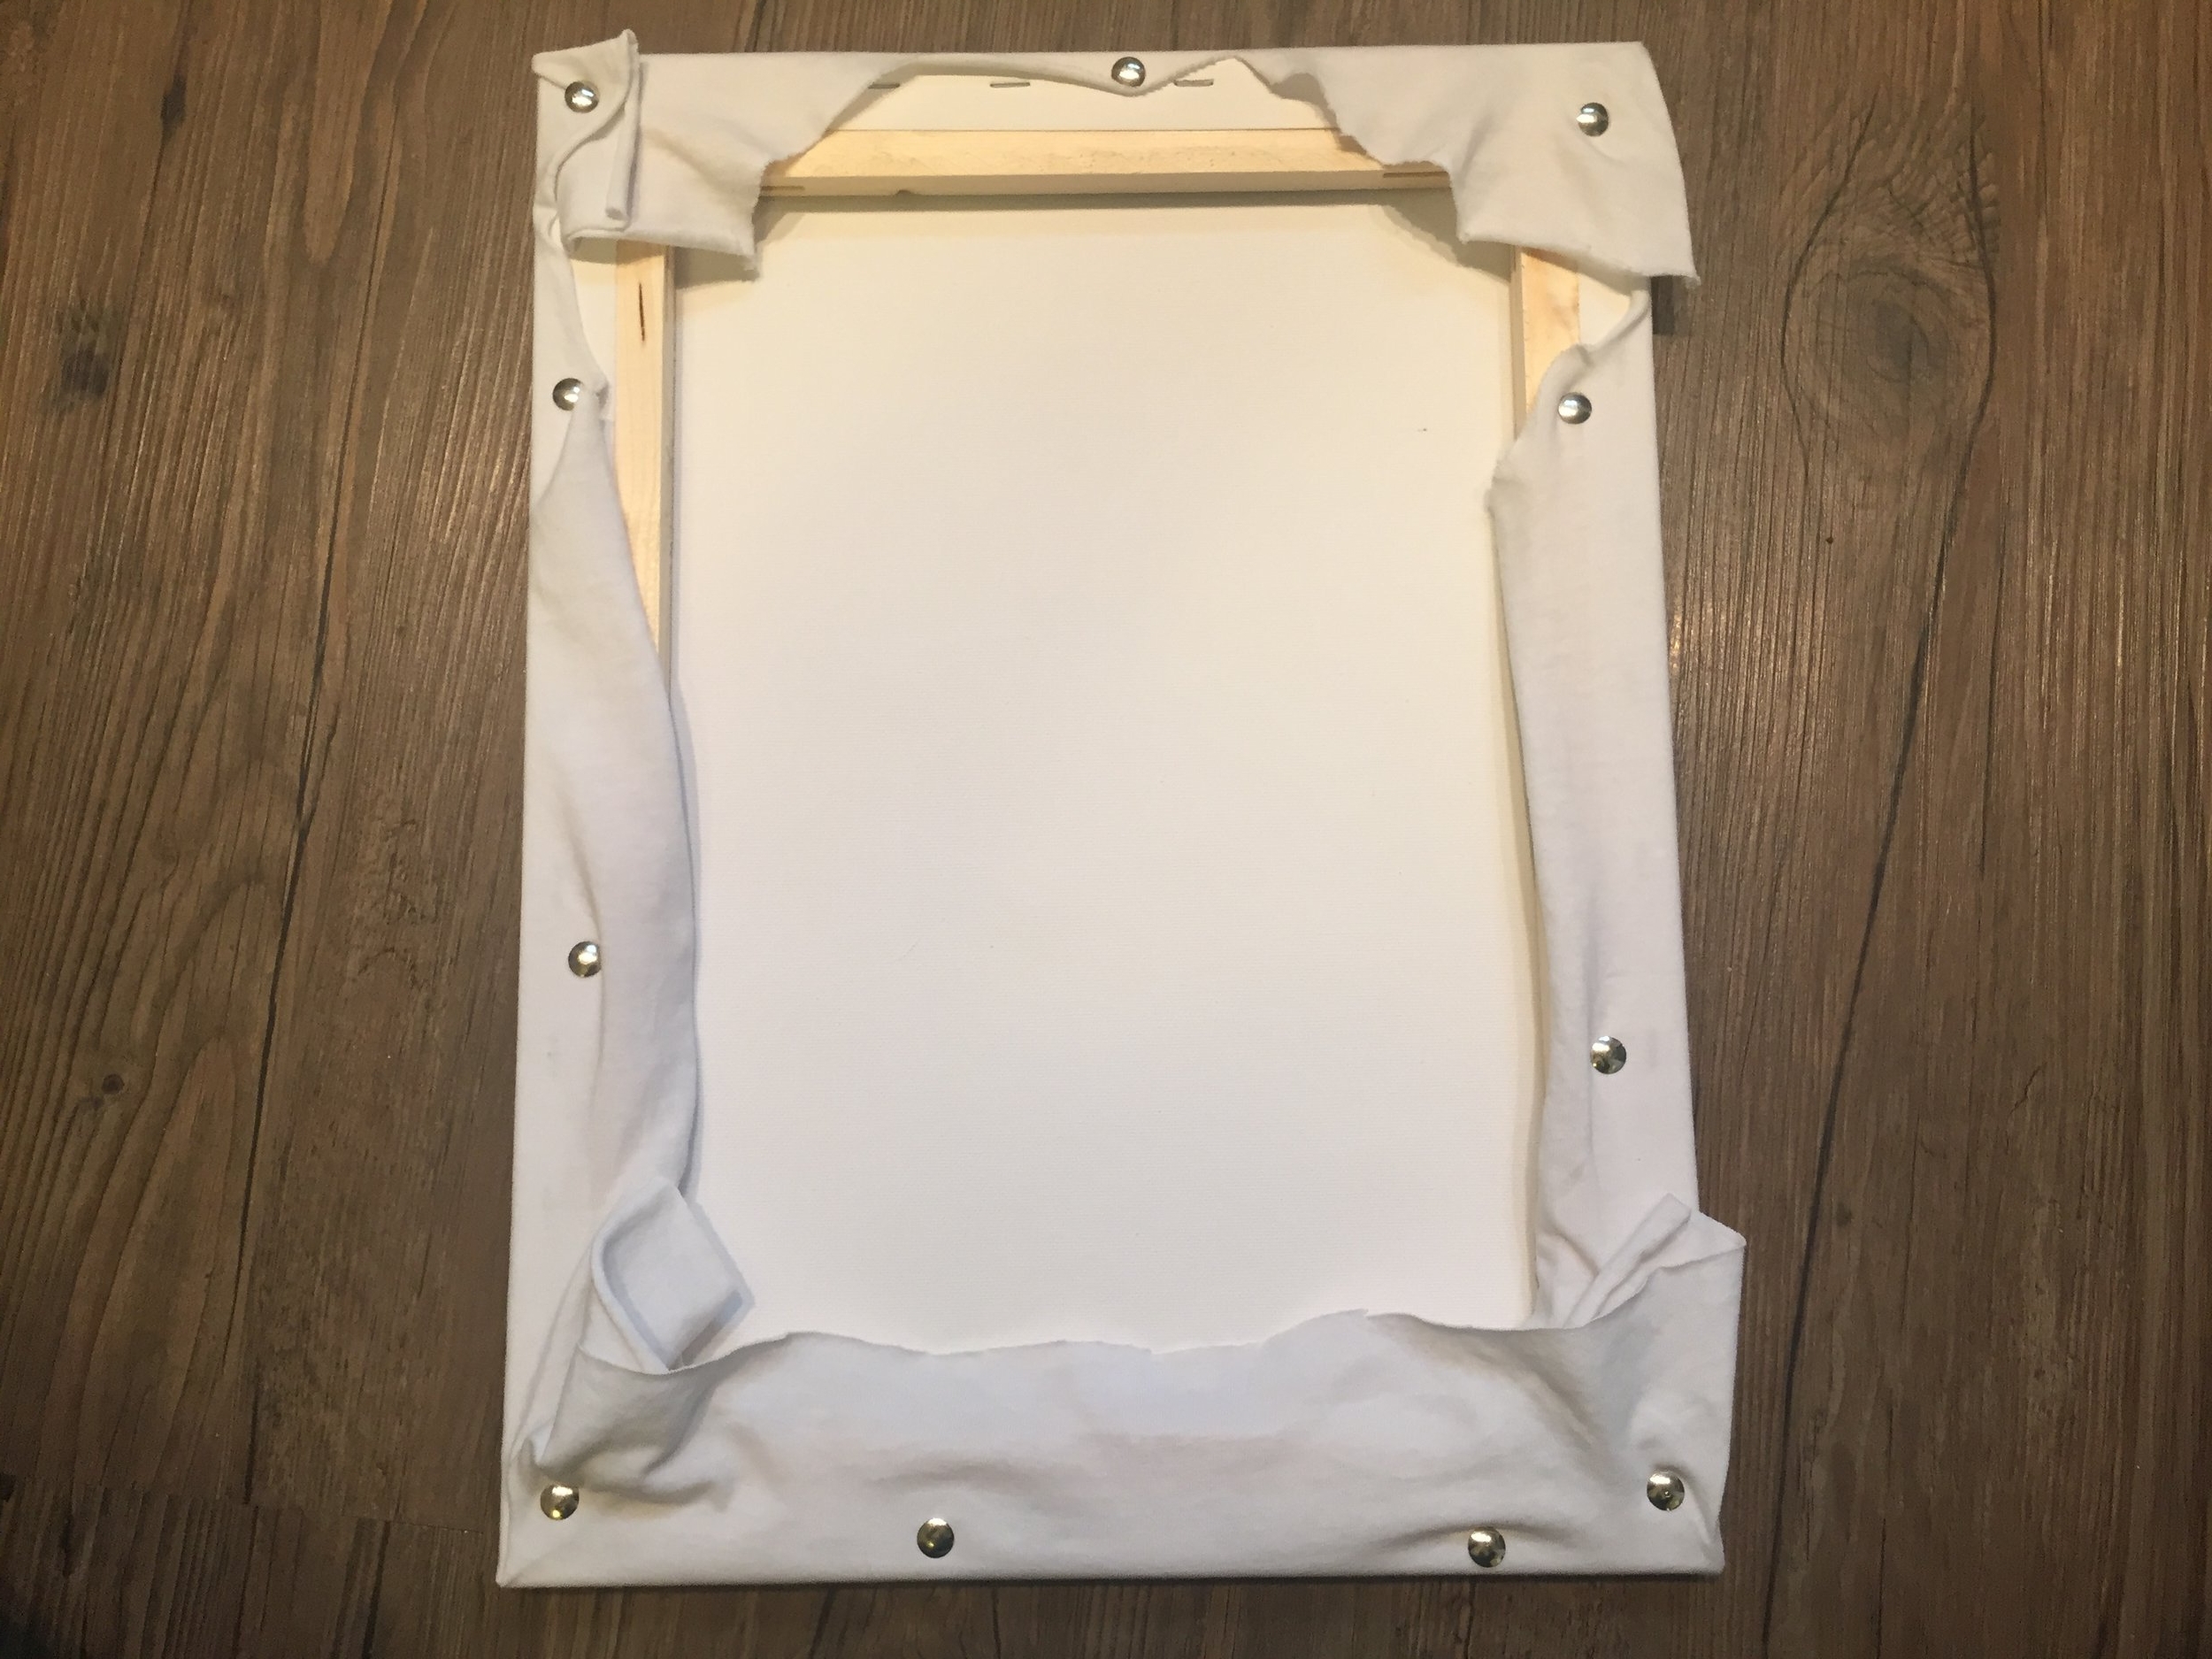
Now you're ready to pin the side of the canvas, pull the t-shirt tightly over the edge of your canvas and pin it into place. I used two pins on each side.
I had a lot of extra t-shirt when I wad done pinning so I just took my scissors and cut off the excess. Here's my before and after now let's hang it on the wall.

STEP 7 - Hang on Wall and Enjoy
To hang my art I just stuck a push pin in the wall then placed the lip of my canvas onto it.
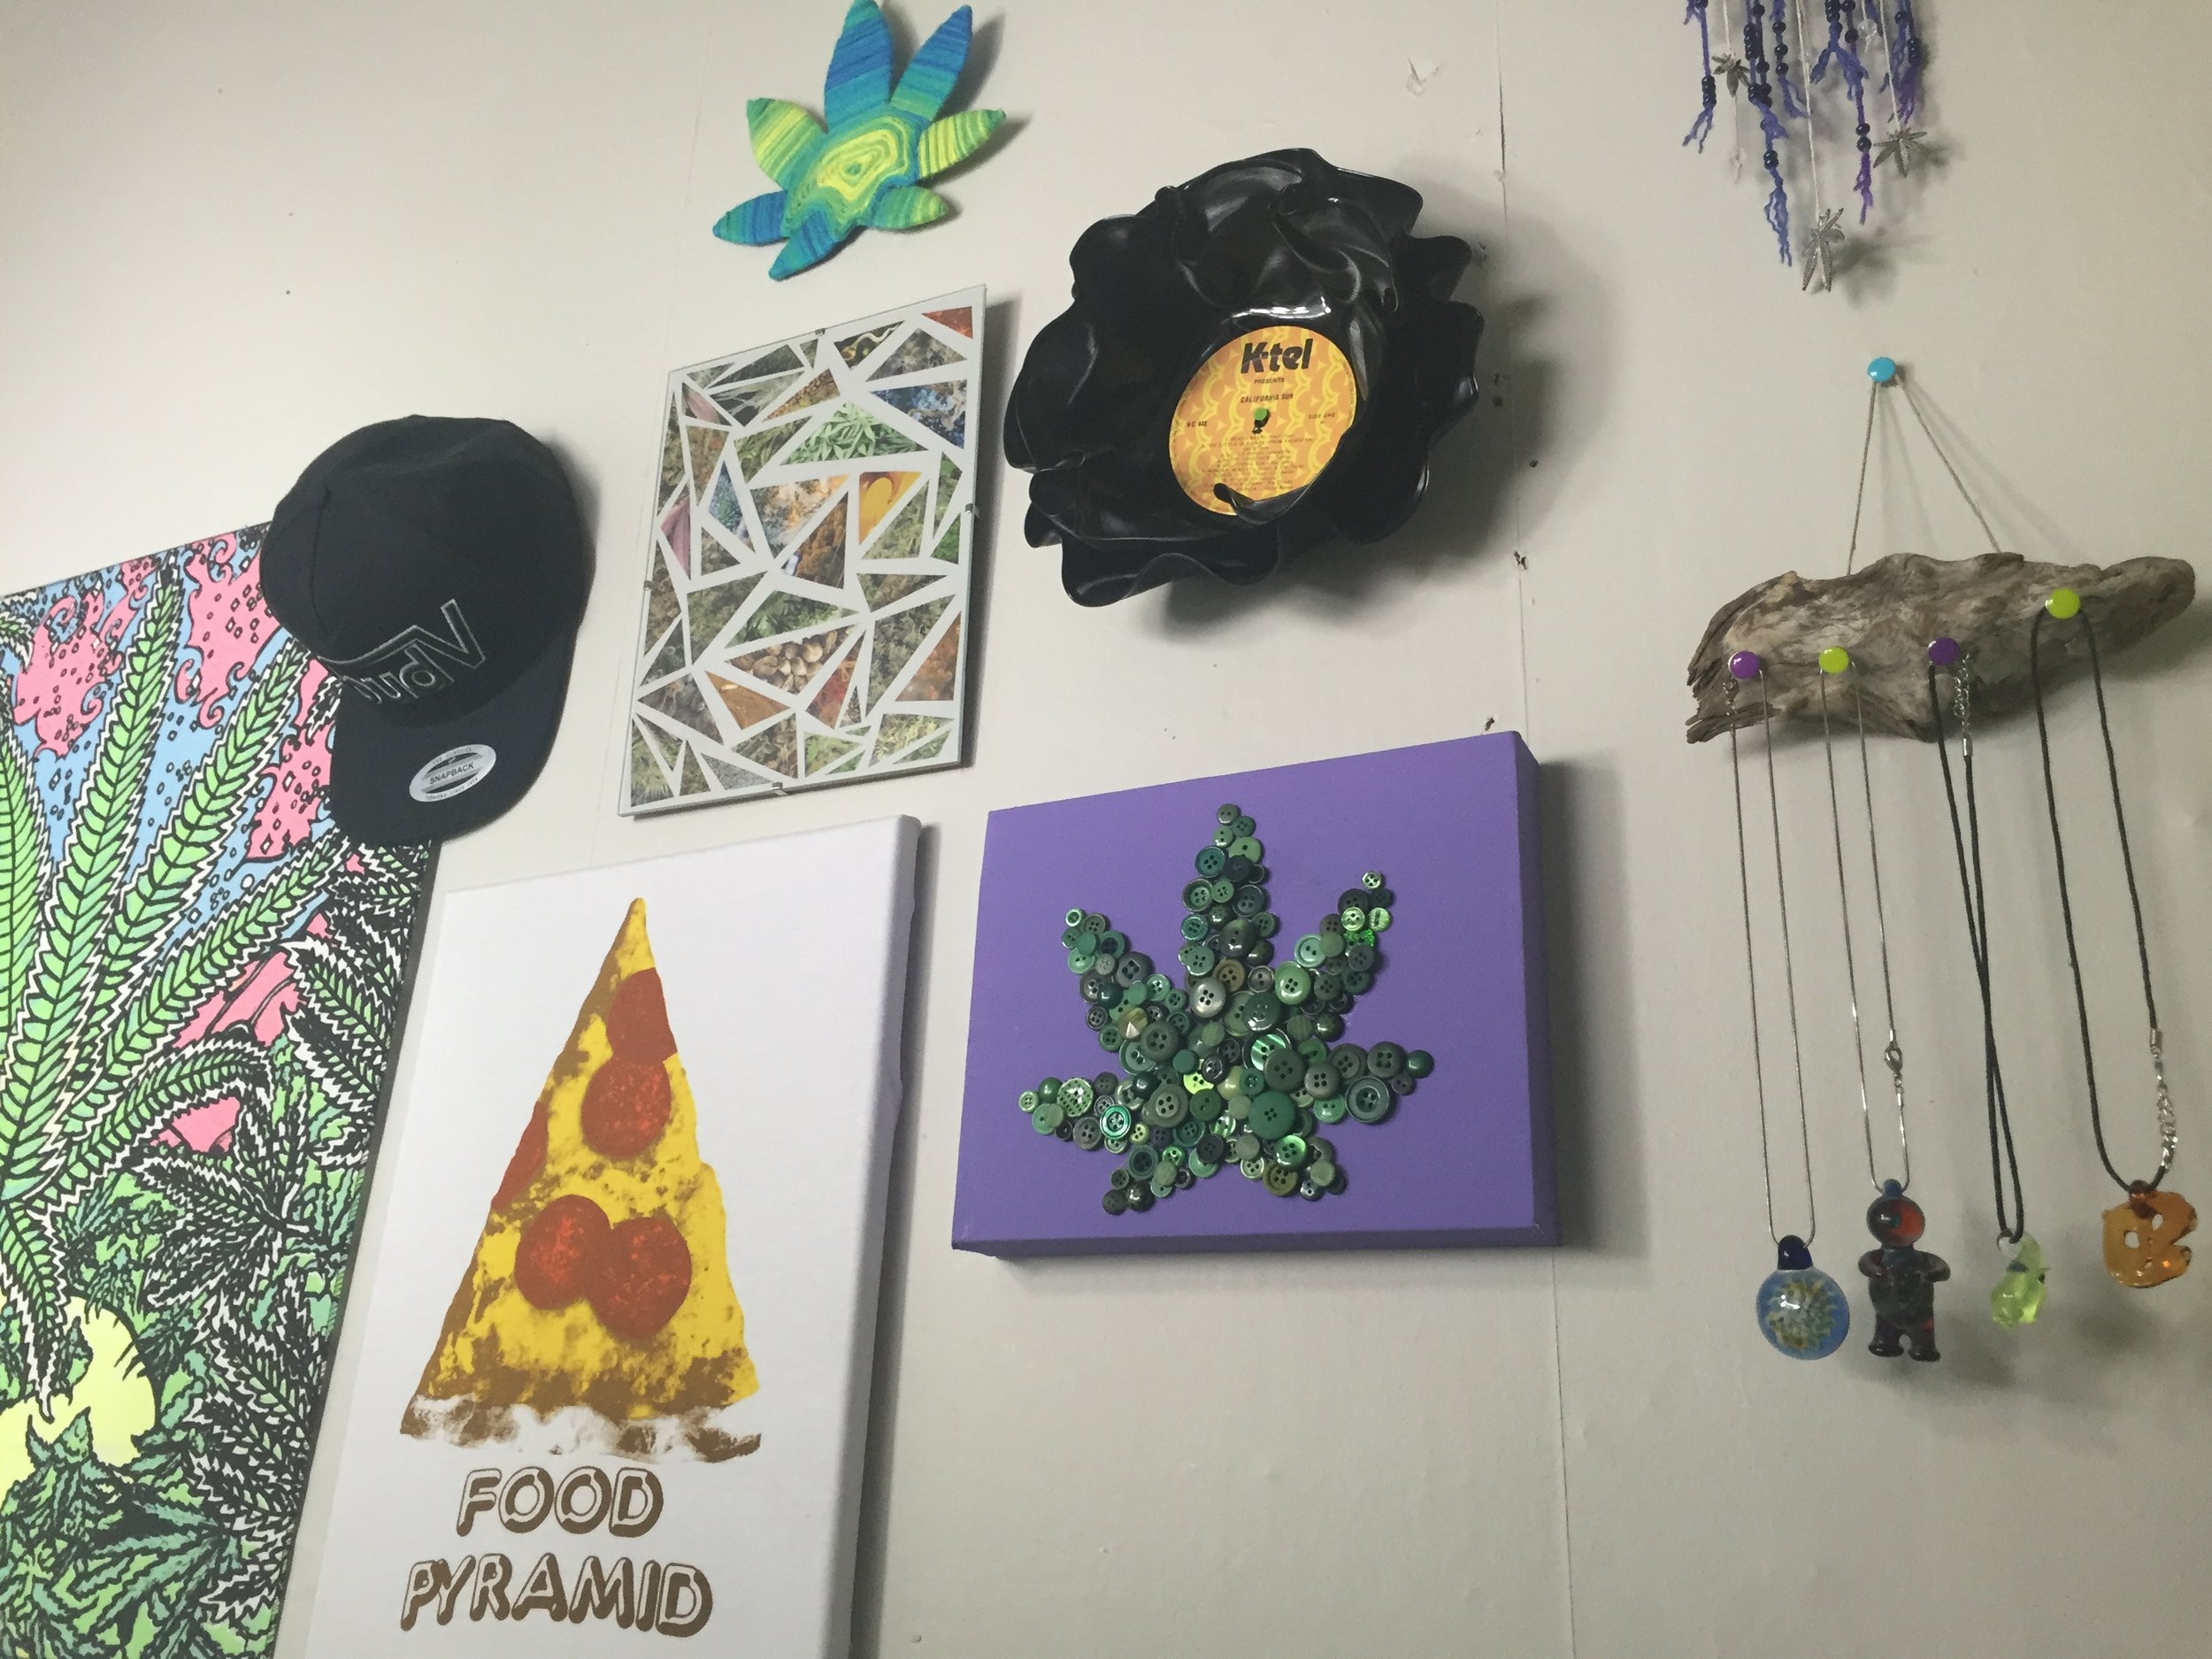
TA-DA my t-shirt wall art is complete and looks pretty darn awesome.
Do you have a drawer full of old t-shirts you can't get rid of? What one's and what's on them? Leave a comment below
Thanks for reading this weeks blog and I hope I've inspired you to create your own easy, peasy wall art.