STONER CRAFTS: DIY CHOCOLATE EASTER BUNNY BONG

Hoppy Easter Stoner Friends!
I'm going to show you how I made this chocolate Easter Bunny bong!
Well I didn't put water in it.. so it's more of a pipe.
But either way, it's a sweet Easter food pipe that you can do yourself.
You can watch my Youtube video tutorial or follow the written instructions.
You will need:
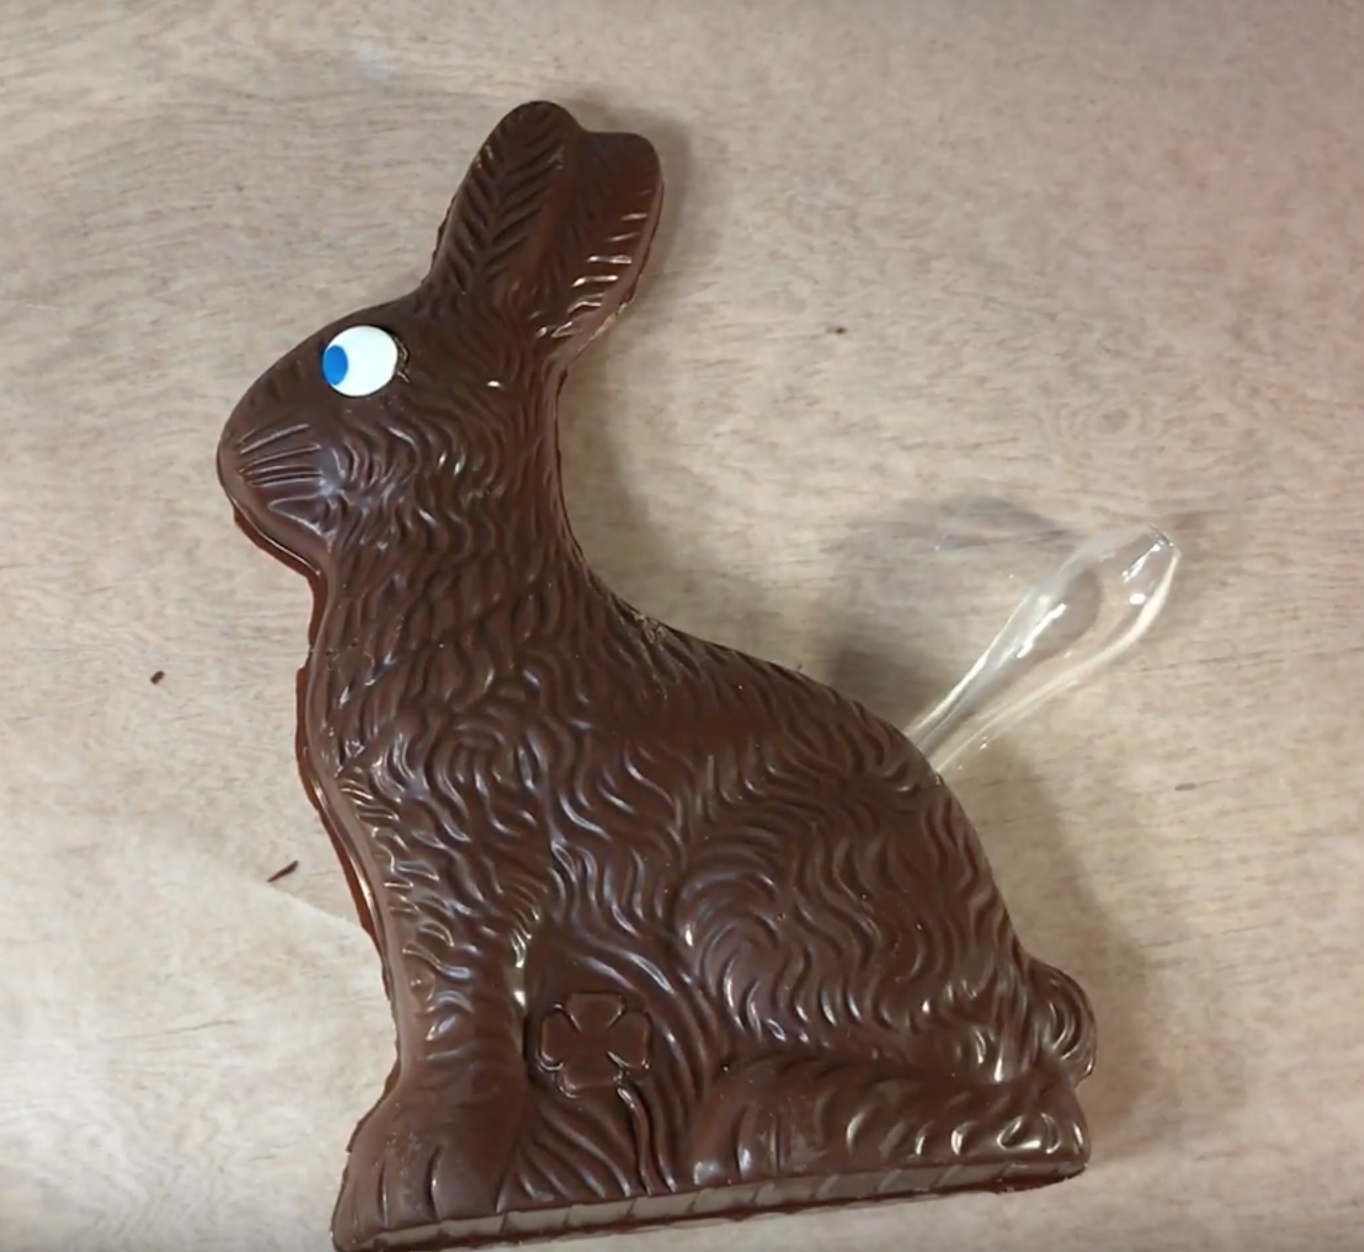
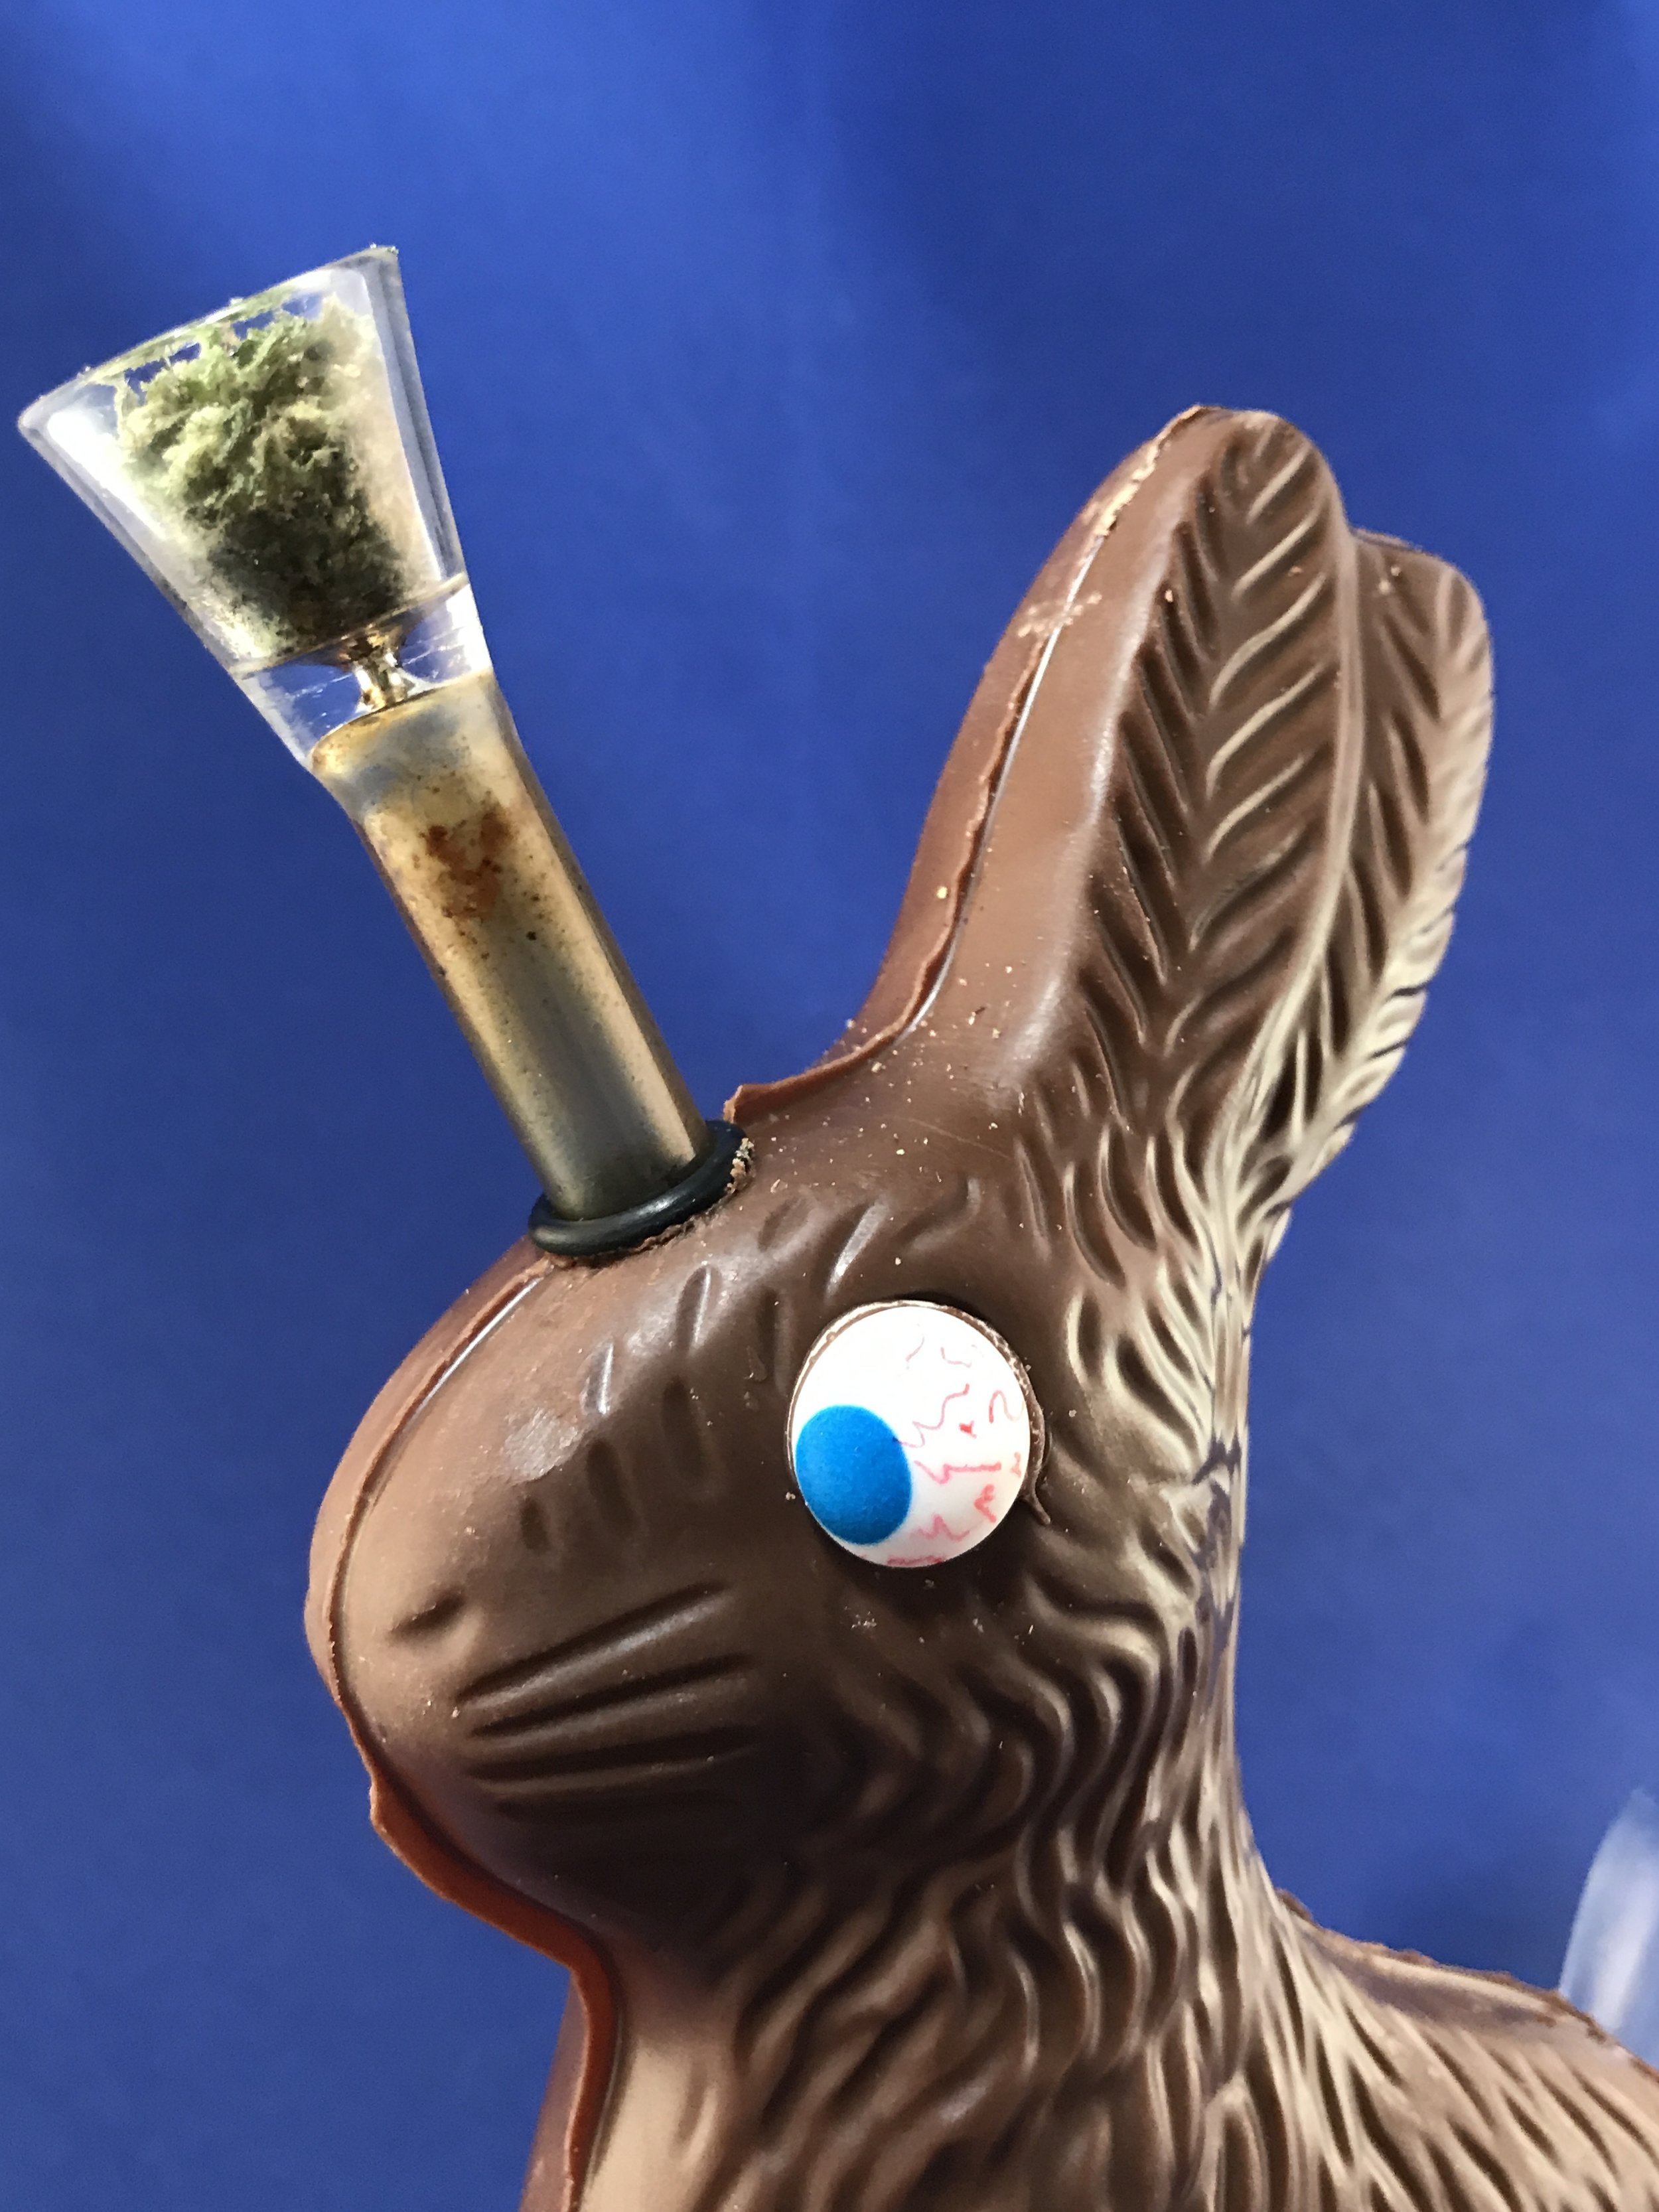
Hollow Easter figure- there's like a million different styles to choose from but I chose this cute little bunny that I named "Buds Bunny"
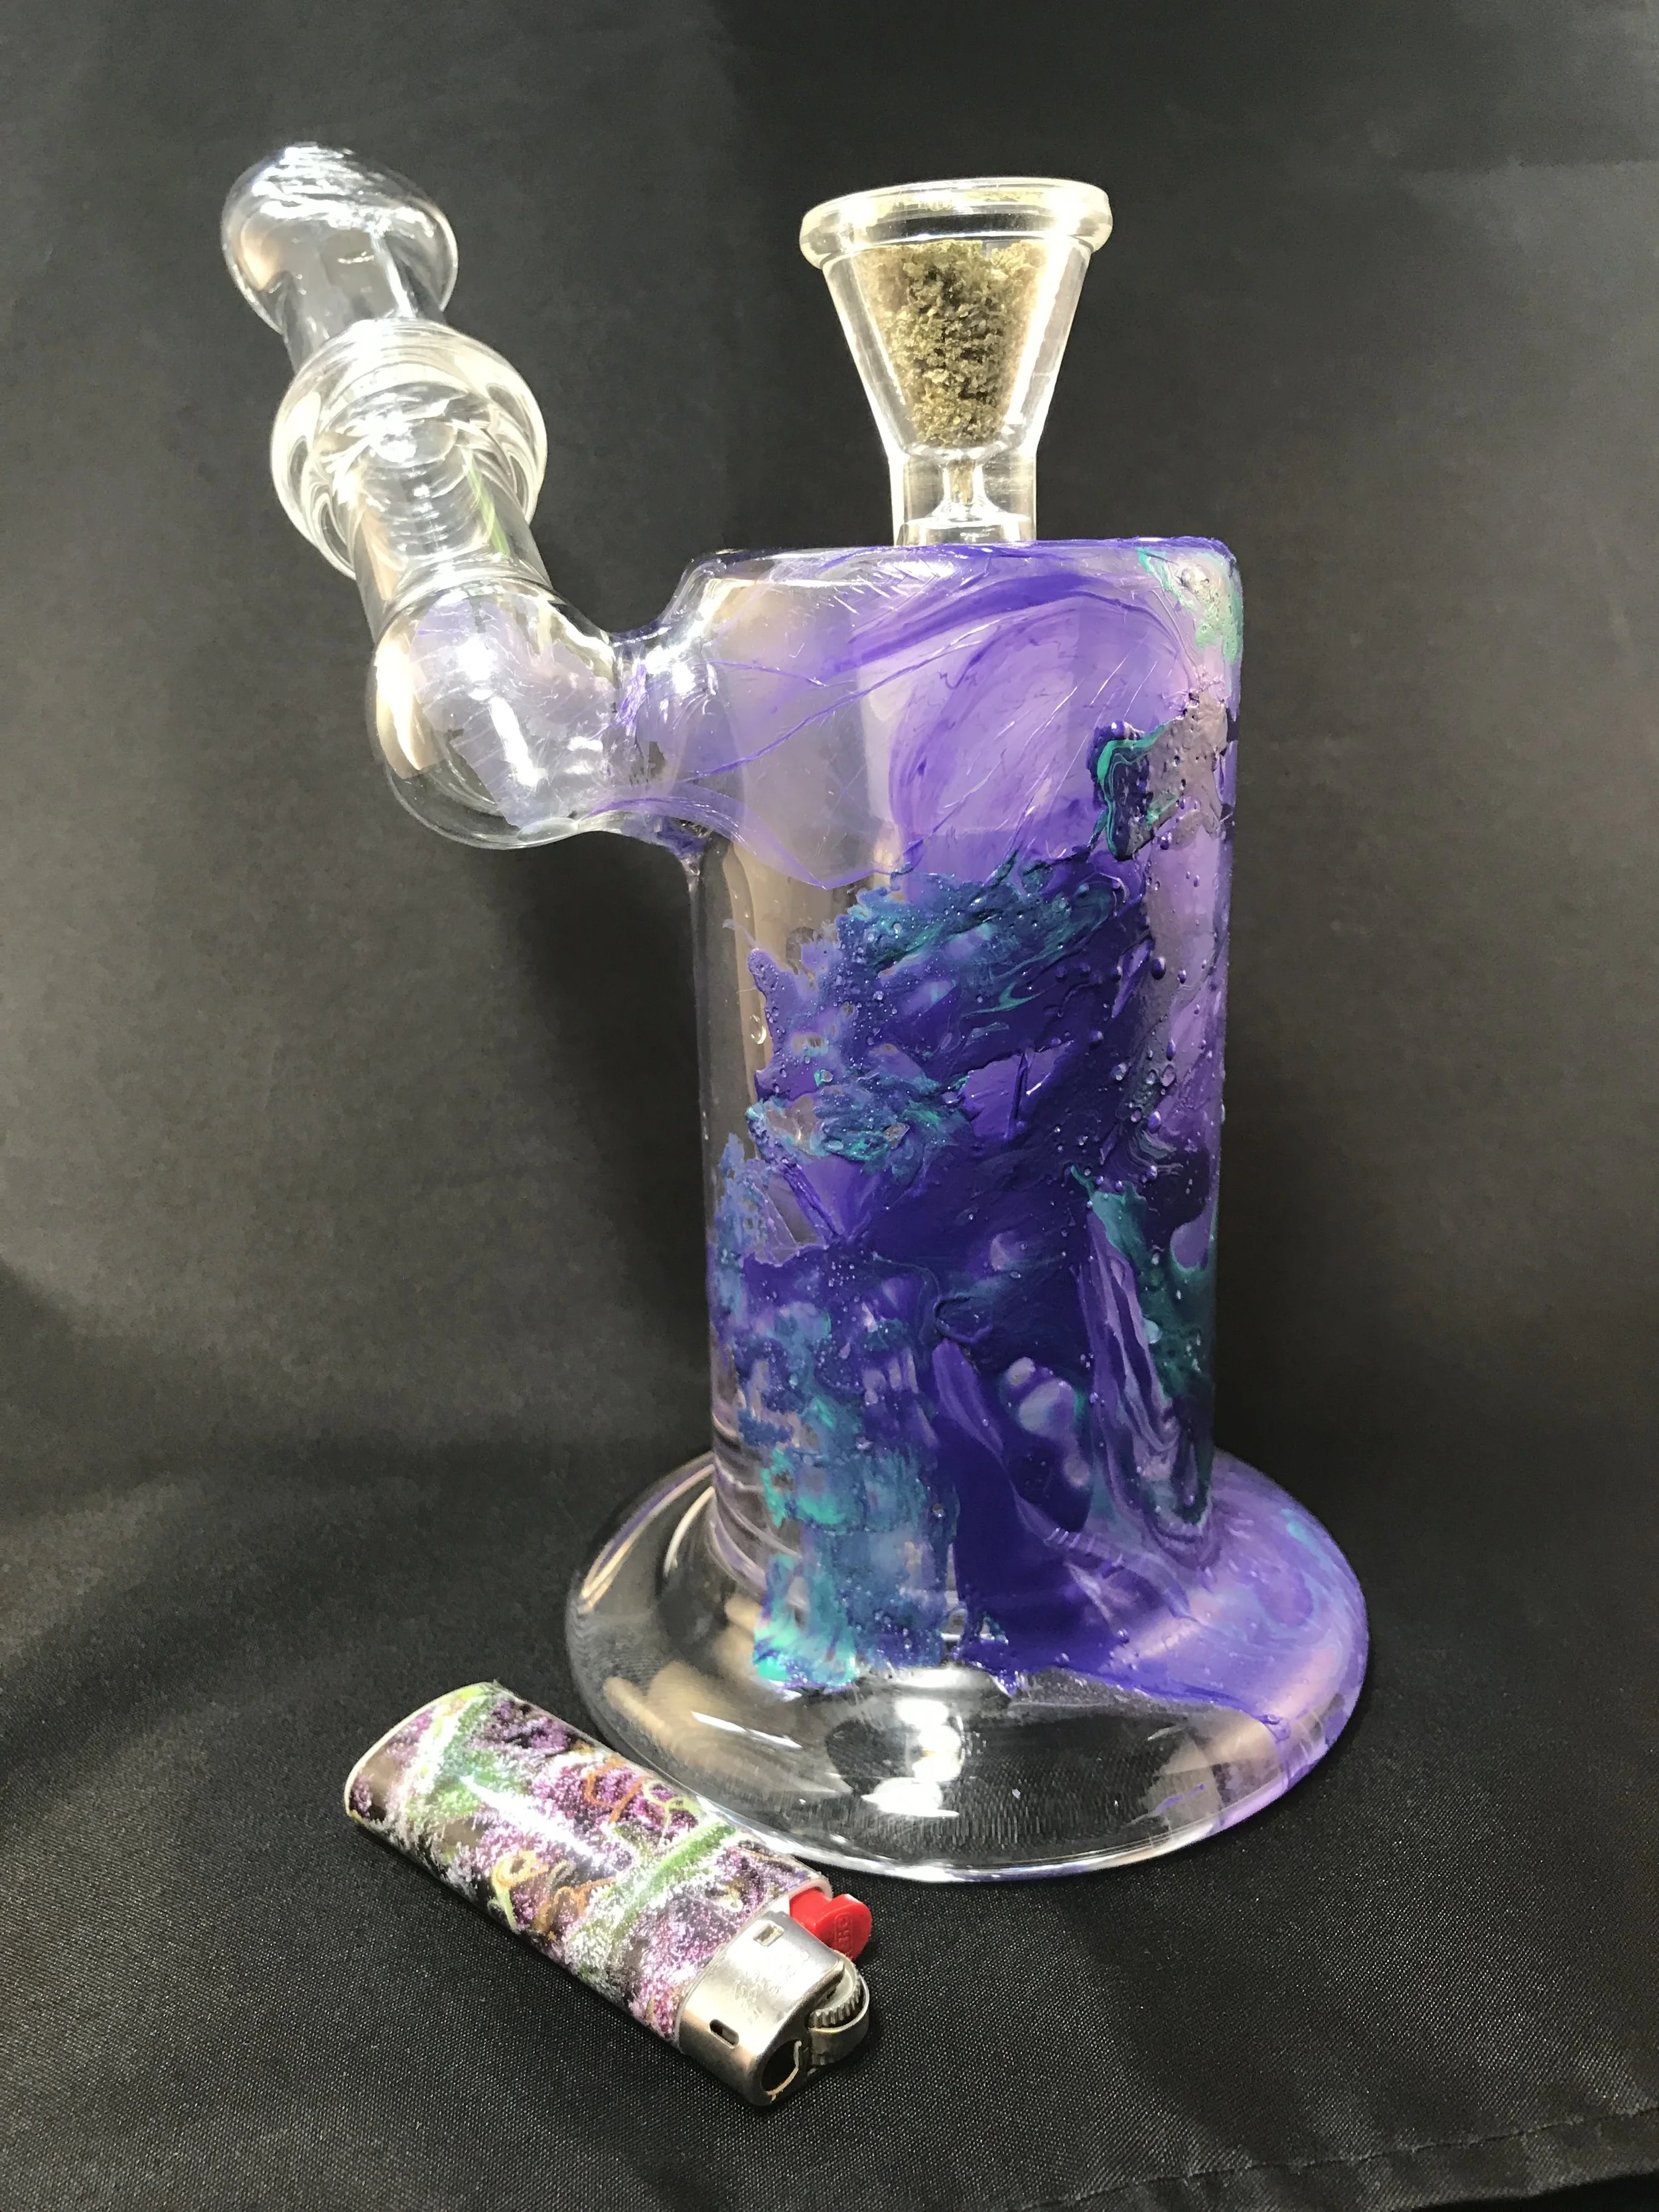
Bowl/Downstem ("O" ring optional )
Boiled water in cup
Weed
Also Optional: I put a glass mouthpiece from my vaporizer in my bunny but if you don't have this piece it's no big deal.
STEP ONE - GATHER SUPPLIES

STEP TWO - PICK YOUR SPOTS
You will need three different holes: a carb or "shotgun" hole, mouthpiece hole and a hole for your stem/bowl. Each hollow chocolate figure is going to be a different size, shape and style so I can't tell you exactly where to put them. Just make sure it won't be awkward to smoke from and it will be easy to have your figure on the carb hole.
STEP THREE - MAKE YOUR THREE HOLES
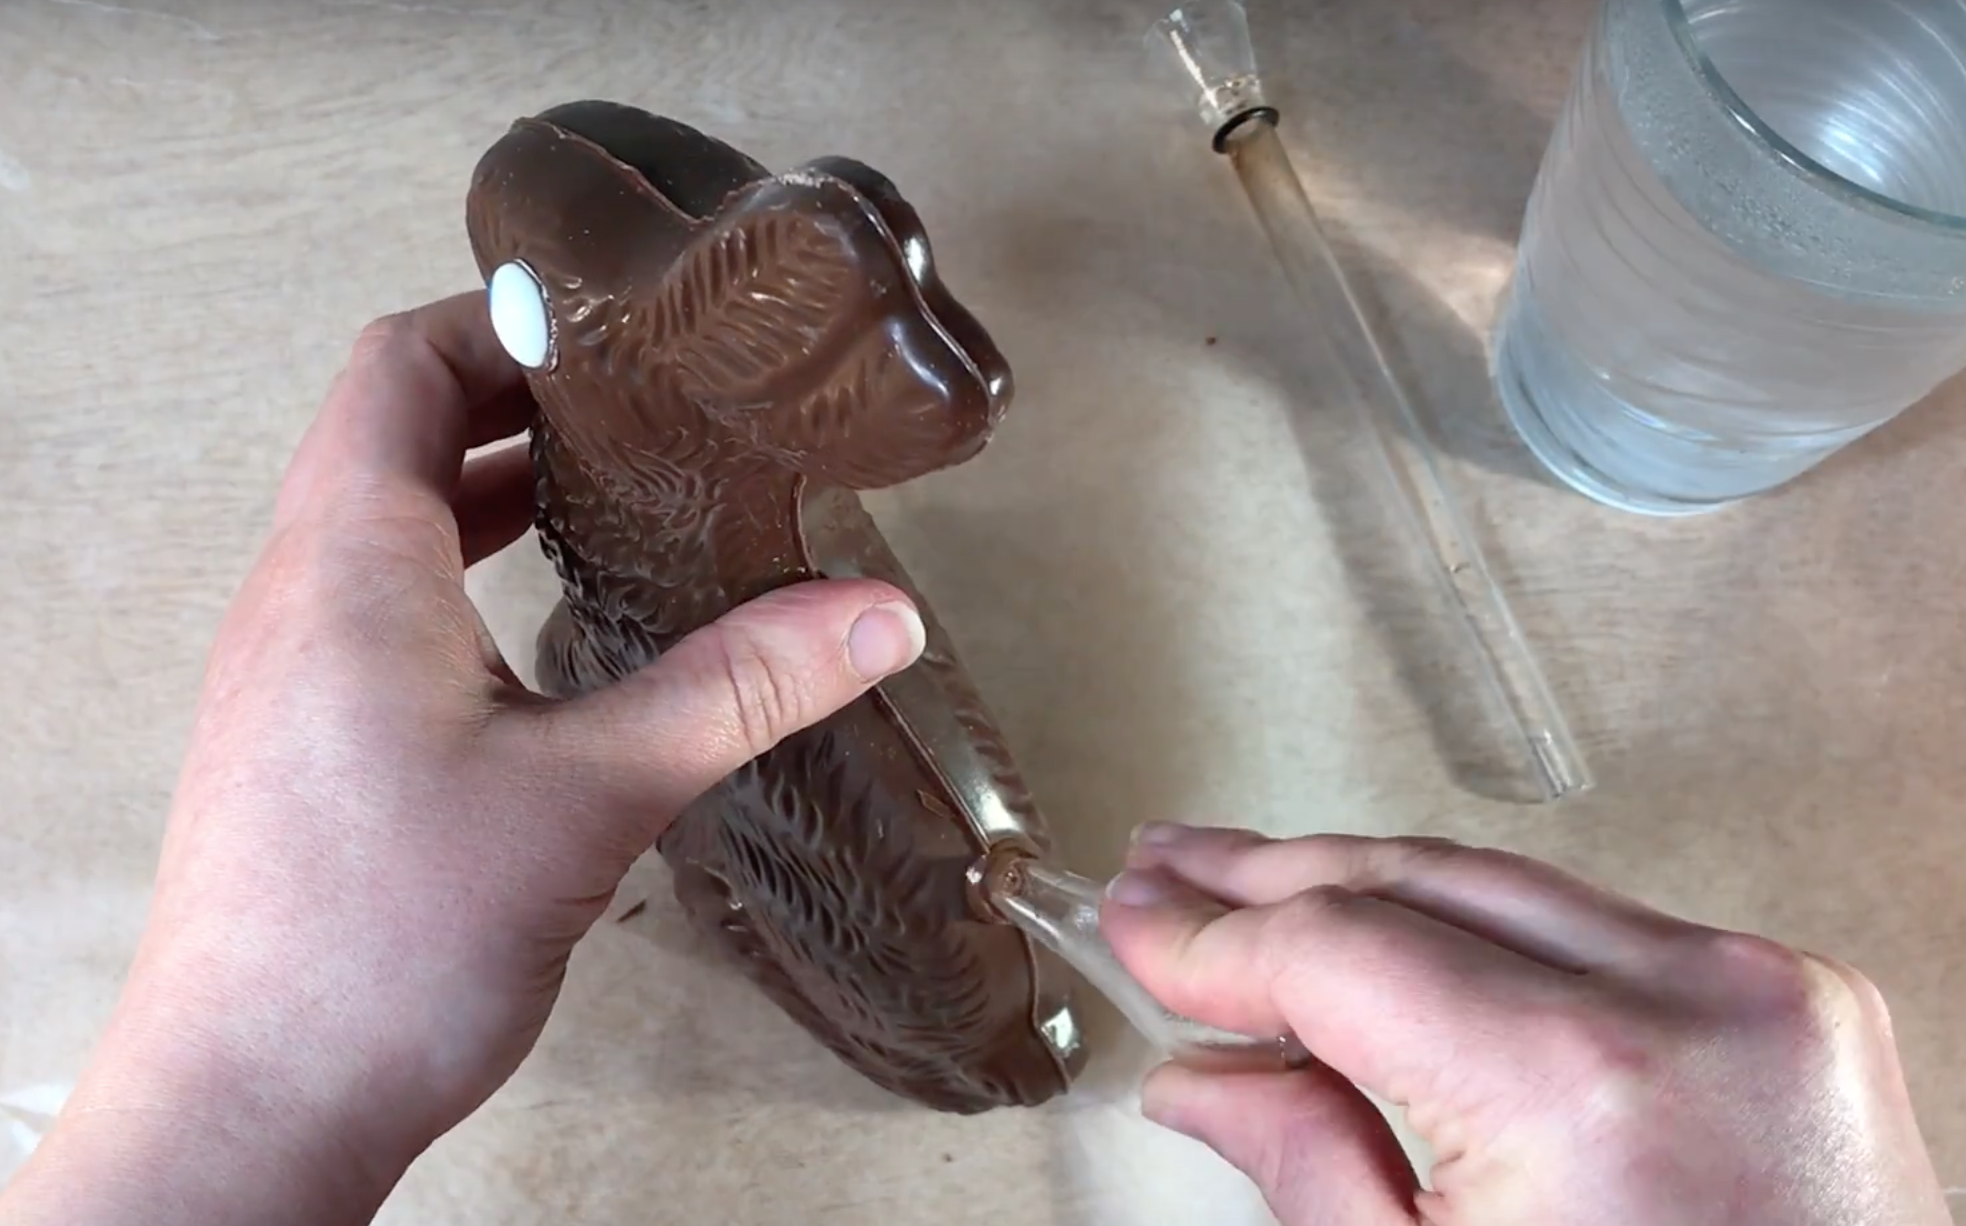
Boil water, pour water into cup and place your stem in the hot water. Leave in water for over 30 seconds, you want it hot enough that it will melt the chocolate.
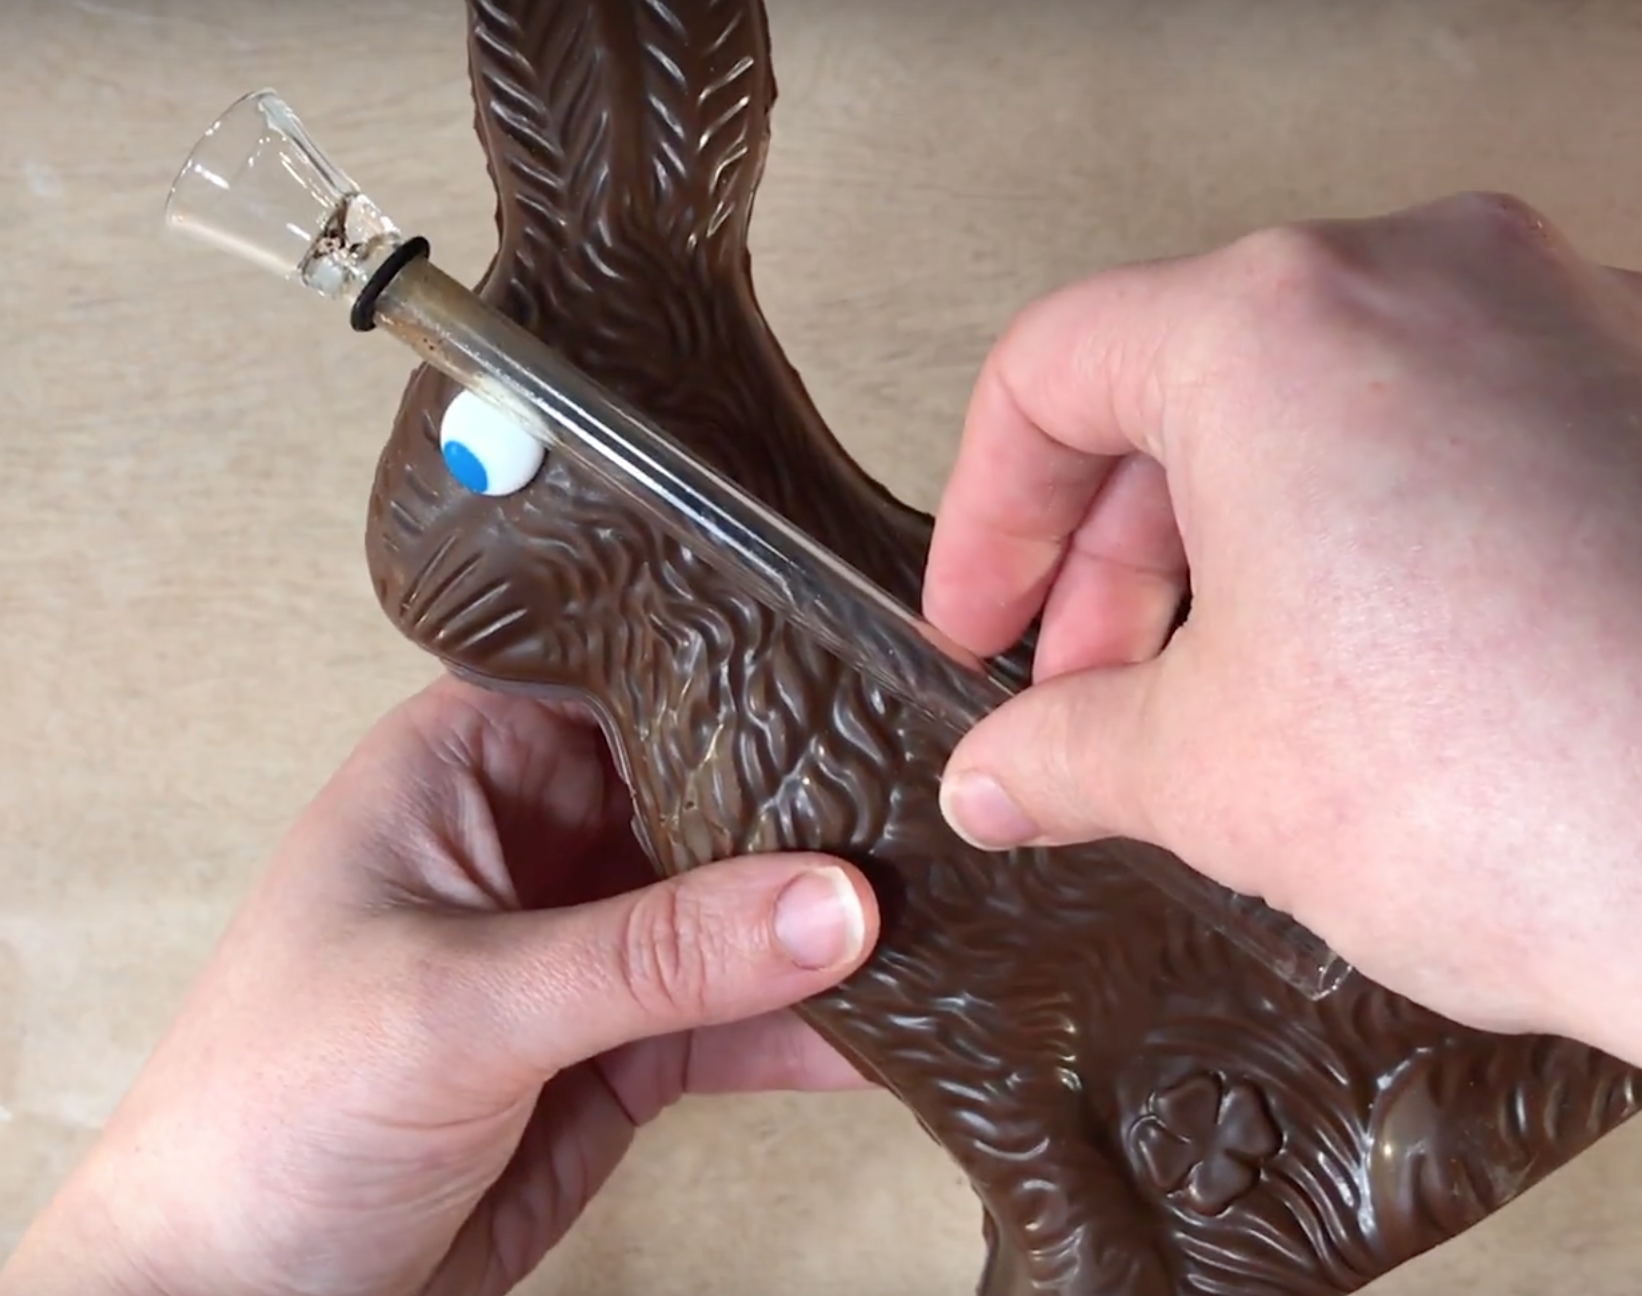
Start with your shotgun hole. Take the stem out of the water, dry it off then place the base of your stem in the spot you chose.
Gently push and turn the piece into the chocolate and it will start to melt. Once you notice it has stopped melting as much then re-heat your stem in the water and repeat until you have a hole.
Repeat this step to make a "mouth piece" hole as well.
If you have a vaporizer wand or glass like mouth piece like I did you can use that or just leave a hole similar to your shotgun hole to smoke through
Lastly, it's time to place your stem/bowl in the chocolate figure.
Again, place your stem in the hot water. Leave in water for over 30 seconds, wipe off the water, then begin slowly pushing your stem into the chocolate. Once you've broken through take the stem out of the chocolate and let it cool for 15ish seconds, make sure no chocolate is blocking the air pathway in the stem, then place it back in the hole.

As the chocolate hardens it should hold the stem in place. My stem already had an O ring on it and that helped seal up the hole and keep the stem in place, although I believe it isn't necessary to use. If you don't have the O ring you'll need to hold the stem in place till the chocolate harders.
STEP FOUR - GET HIGH

Time to "christen" your new chocolate bong. As a word of caution- try not to touch the bong too much for extended periods of time because obviously, the chocolate will melt.
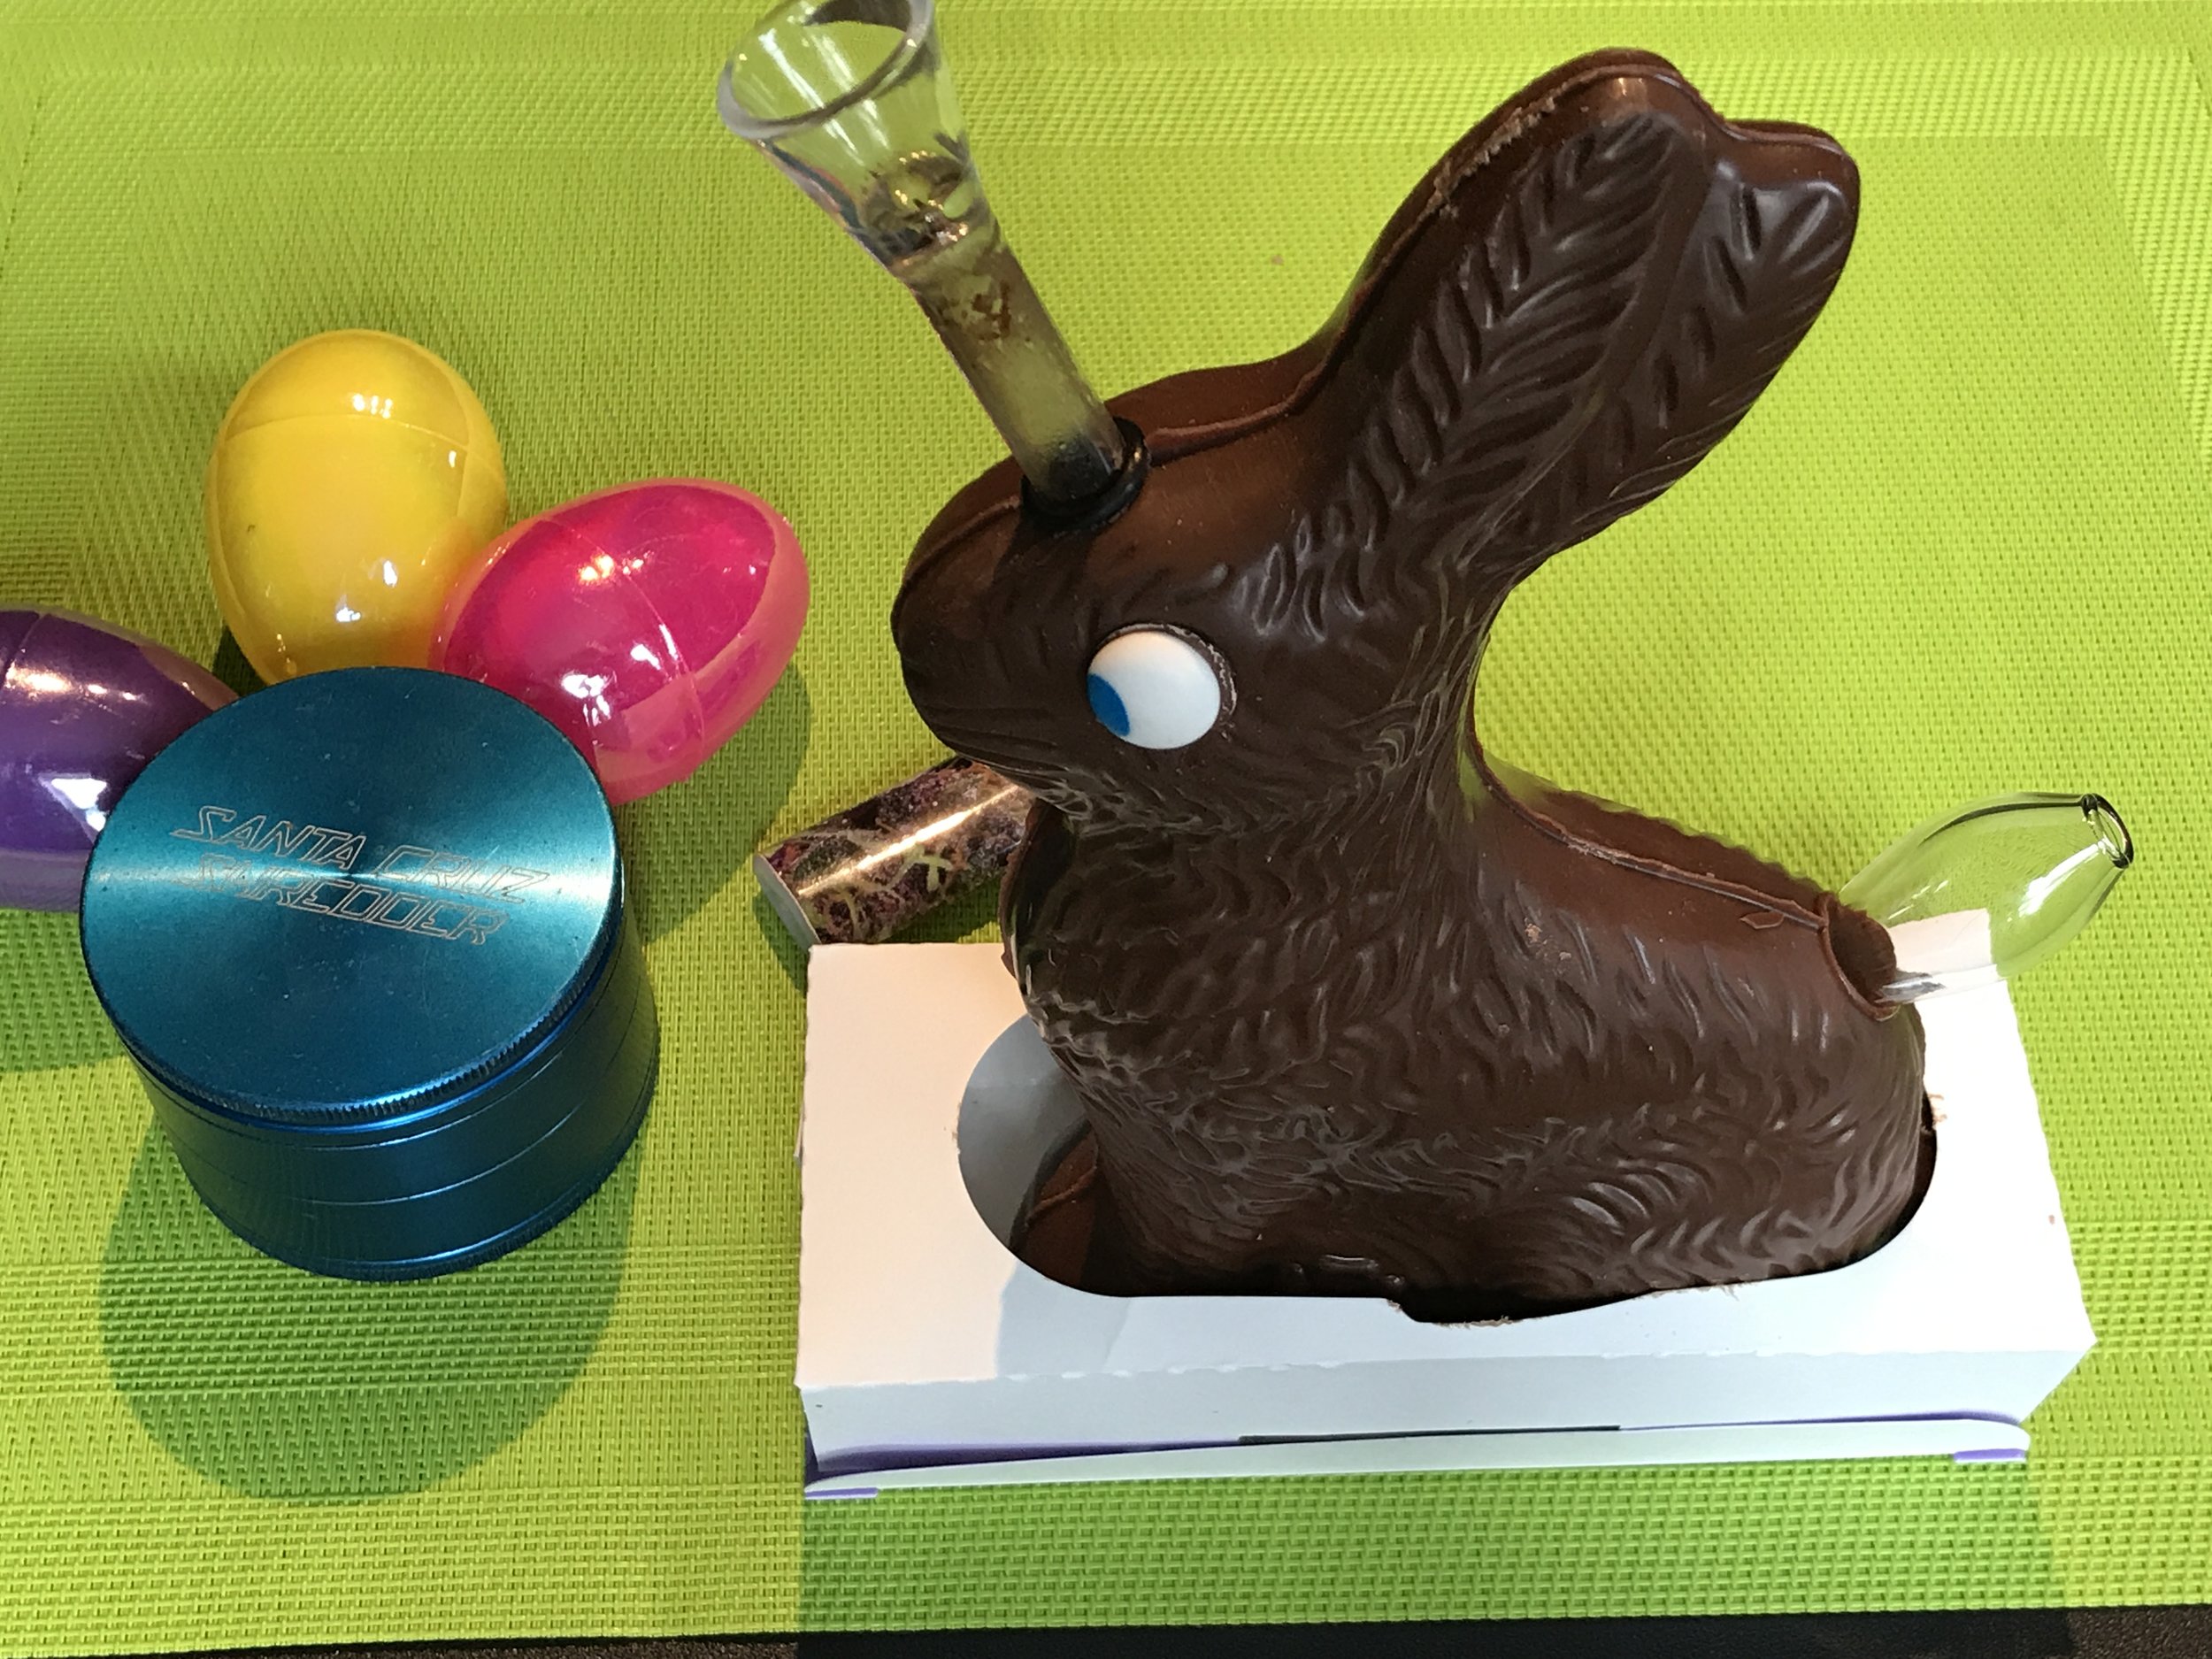
Most hollow chocolate figures have cardboard supports in the box to hold it in place and avoid it breaking. You can use this to as a stand for the chocolate figure and help avoid handling it directly too much.
Here are some shots of my bunny
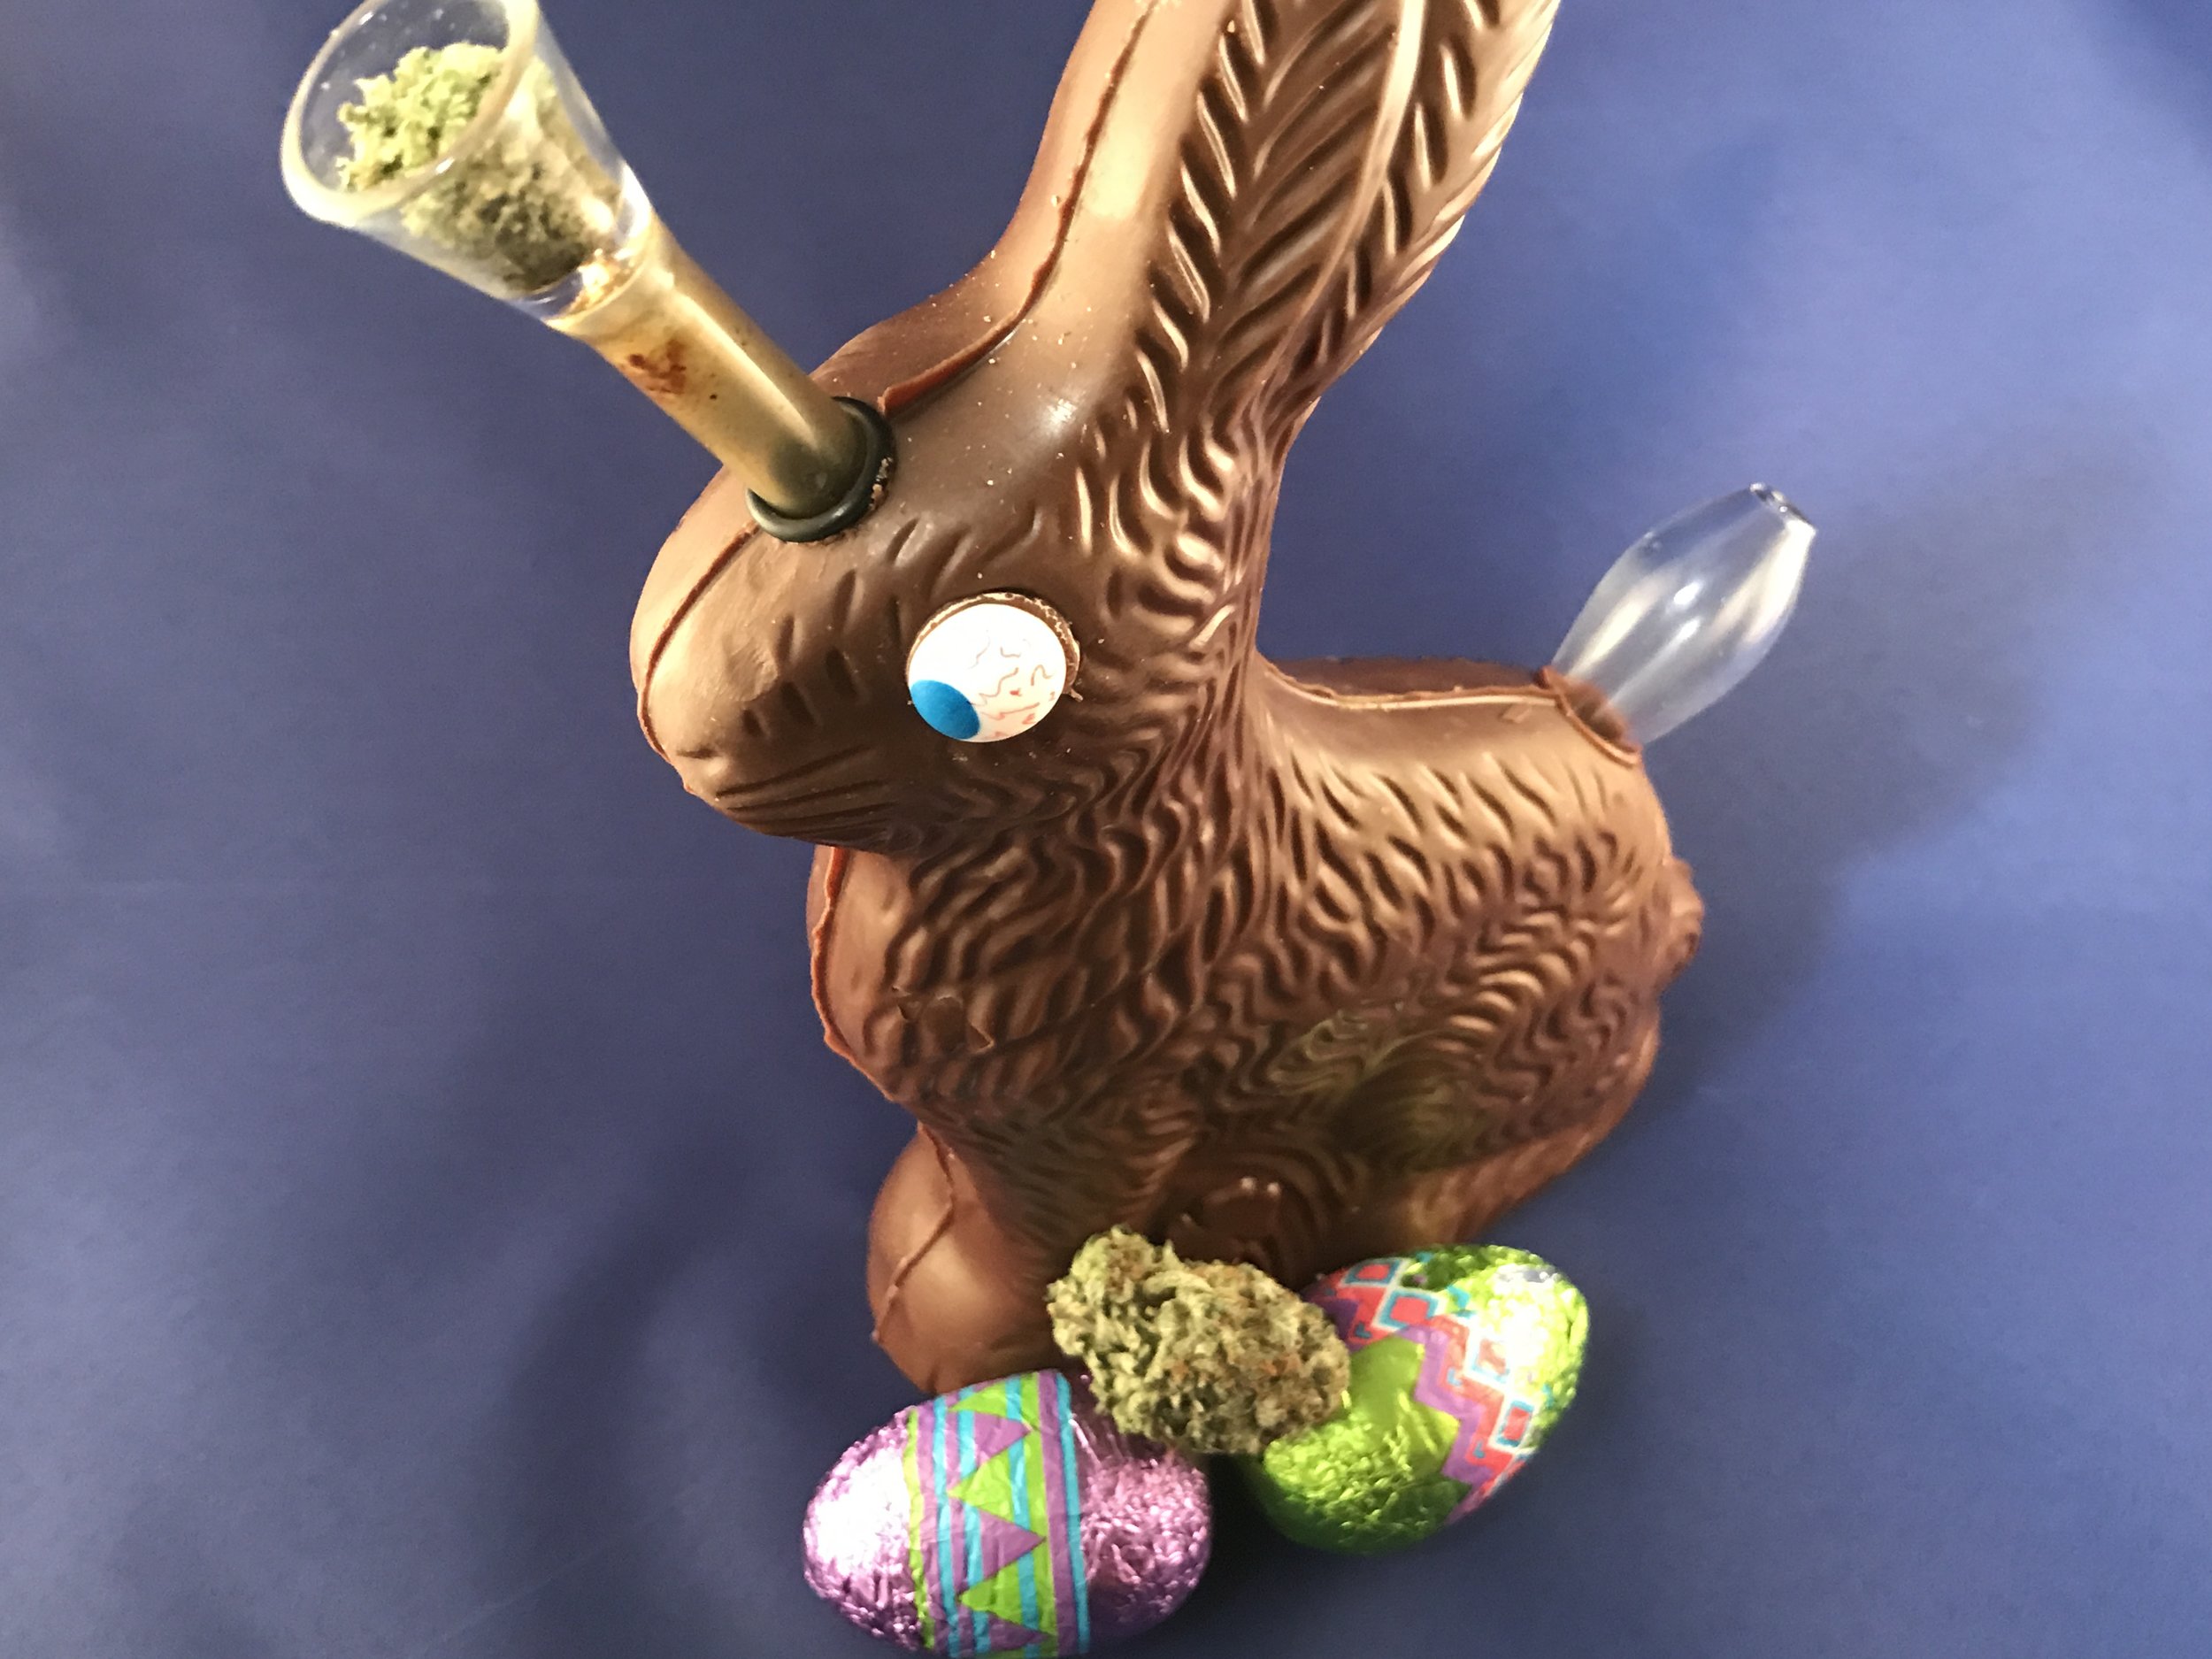
When you make your own chocolate Easter bunny bong I'd love to see it!
Share your picture with me on any of the social networks below where I hangout.
Thanks for joining me and I hope you have a highly enjoy-a-bowl Easter - Chronic Crafter


WANT MORE CHRONIC CREATIONS?
JOIN MY NEWSLETTER